Laundry Area
Reconfiguring interior to make better use of space.
See Häfele Closet Organization Hardware
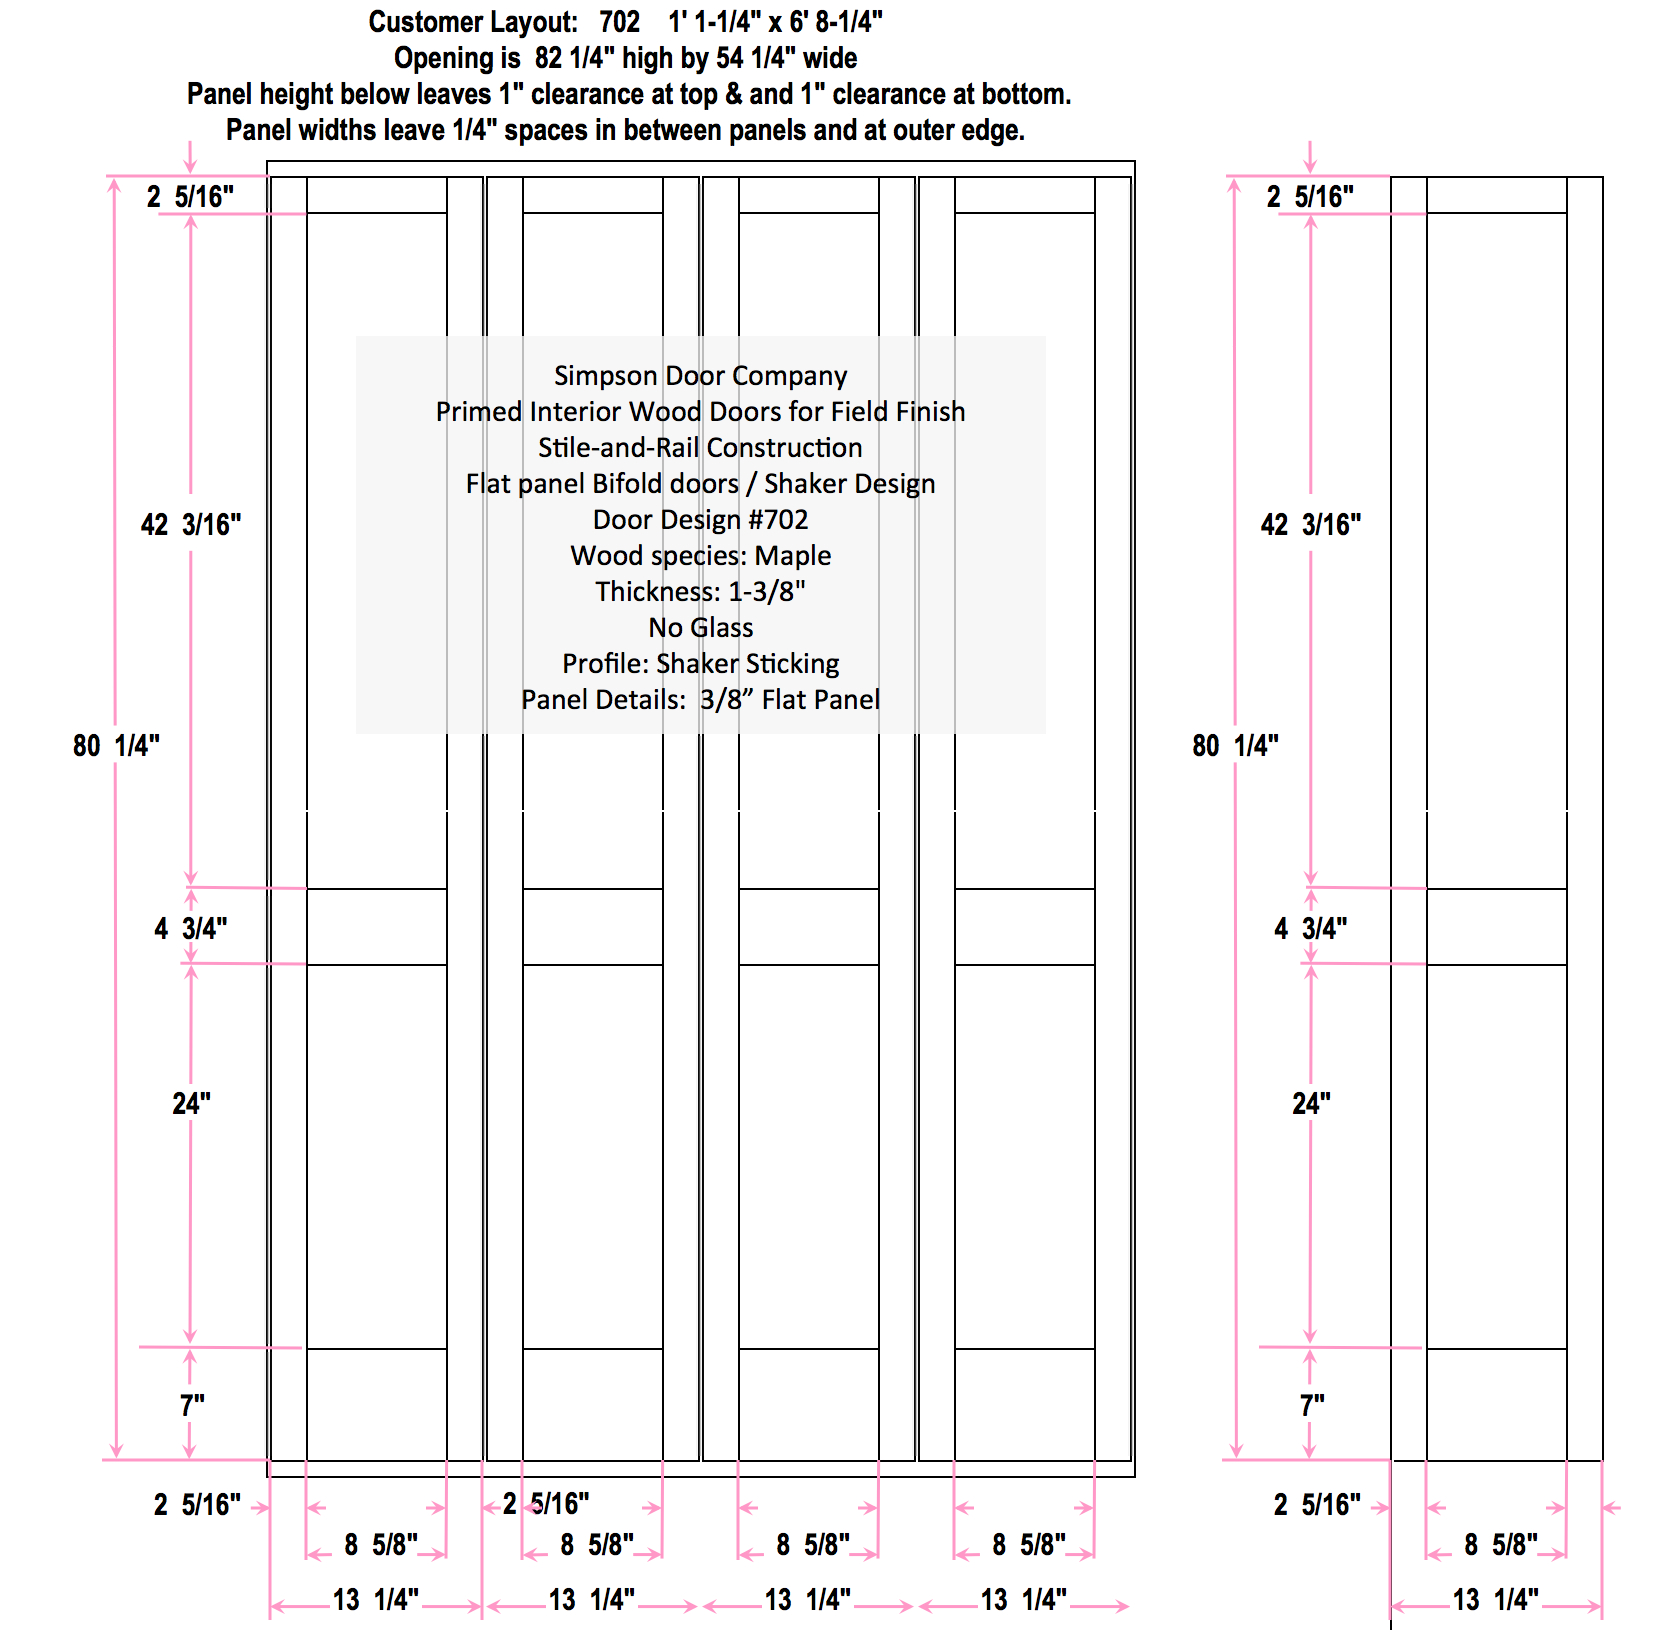
Replace 3 louvered doors with two custom Simpson Shaker BiFolds (i.e., 4 panels)
Available through WINDOW RAMA Hours: M-F 8-6, Sa 9-5
Contact: Wade Morgan <morganw@windowrama.com>
http://www.windowrama.com/products/entrance-interior-doors/simpson
430 Route 46 East, Fairfield, NJ 07004 T: 973-835-8170
Open: Drawing/First response from Simpson
Sample Simpson drawing: http://www.simpsondoor.com/artwork-detail-drawings/detail-drawings/B-703-102.375-603-0800.pdf
|
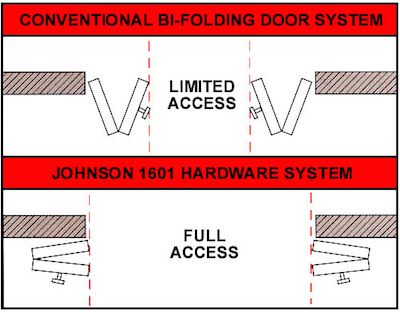
Lay flat Bi-fold Hinges: The 1601 Hardware 'Full Access' Bi-folding door hardware provides 100% jamb-to-jamb opening access. Door panels fold 180° and lay flat against the wall. This hardware series does not use top or bottom track, instead the door panels are supported with standard hinges and guided with the adjustable 6063T6 extruded aluminum 1601 control arm. 14 – 16 gauge steel parts for long life and zinc trivalent plating for corrosion resistance and quality appearance. Download Installation Guide - PDF |
 |
|
CLICK ON DRAWINGS TO ENLARGE | ||
| ||
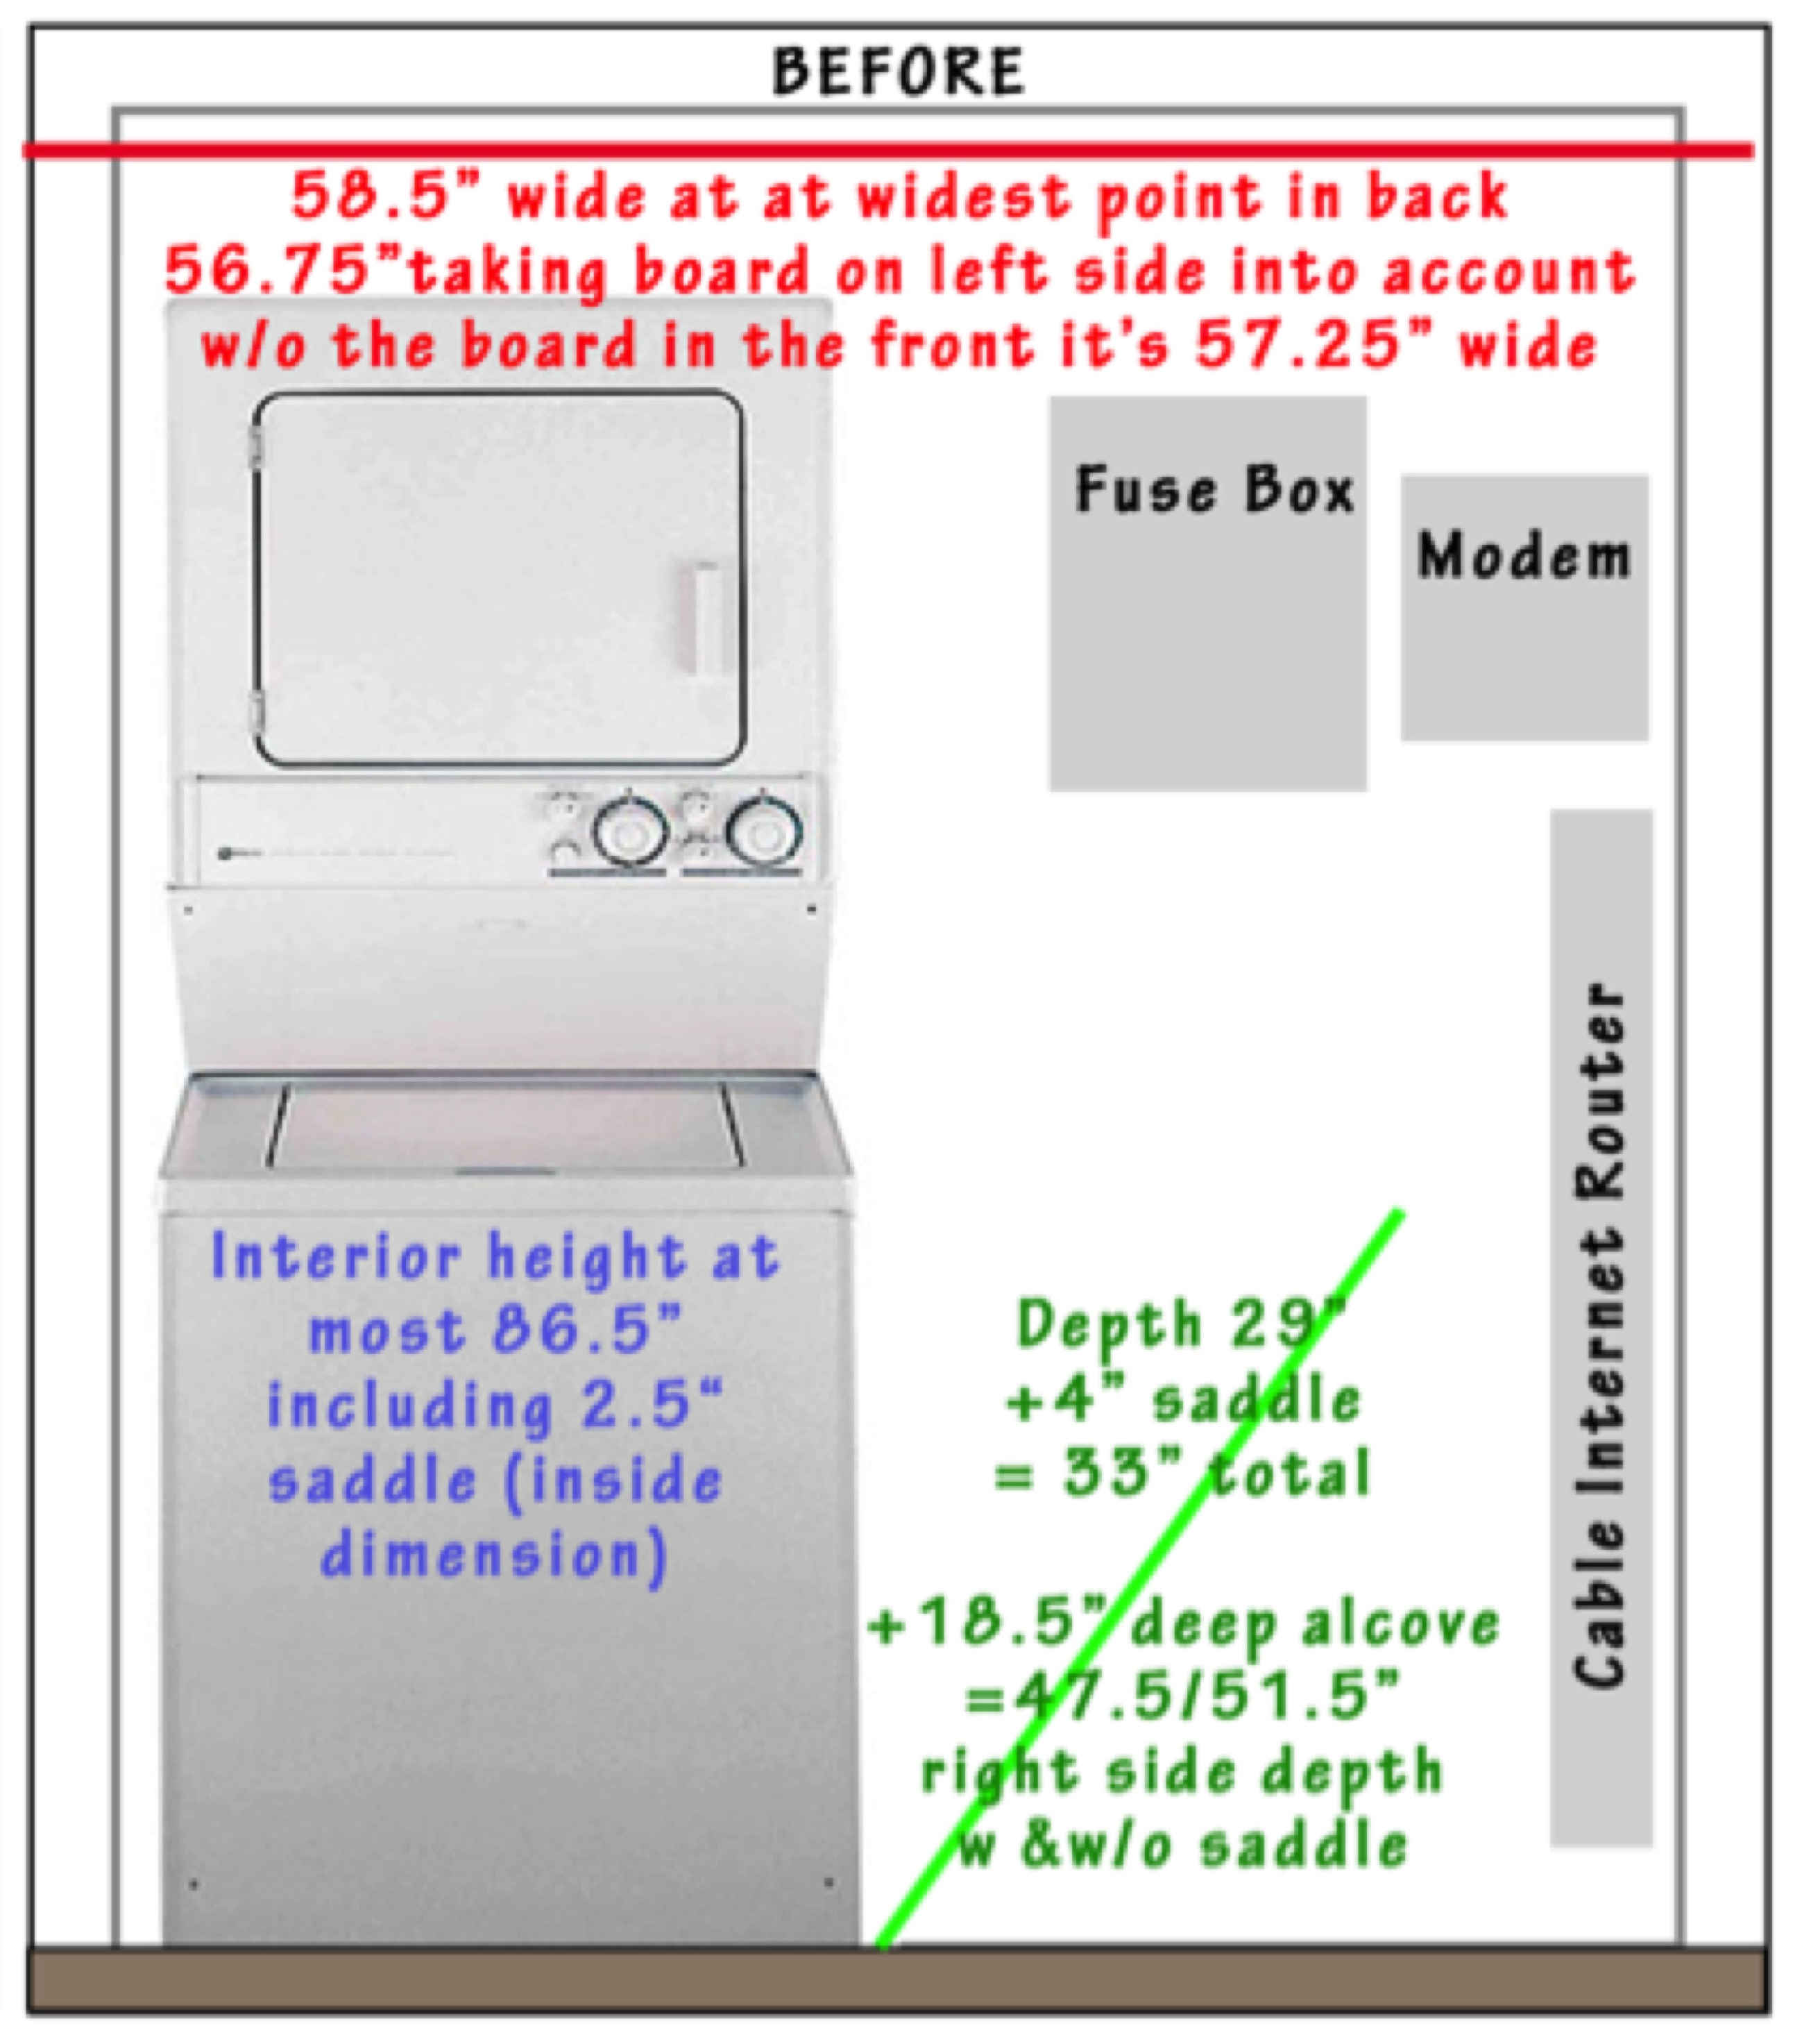 PLAN 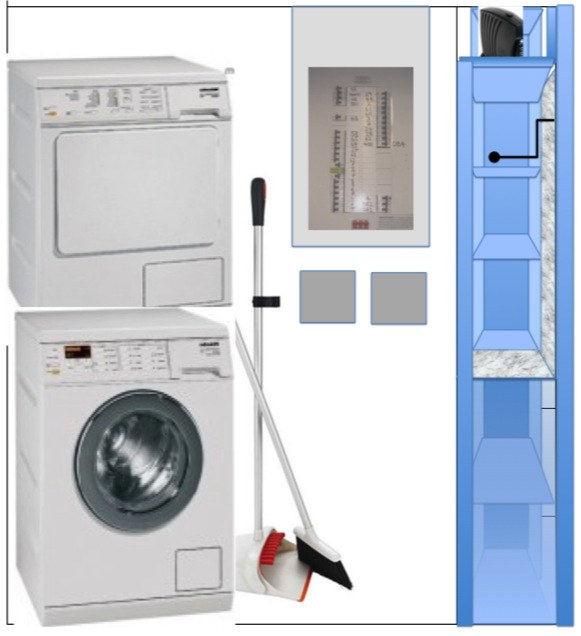 |
PLAN SIDE VIEW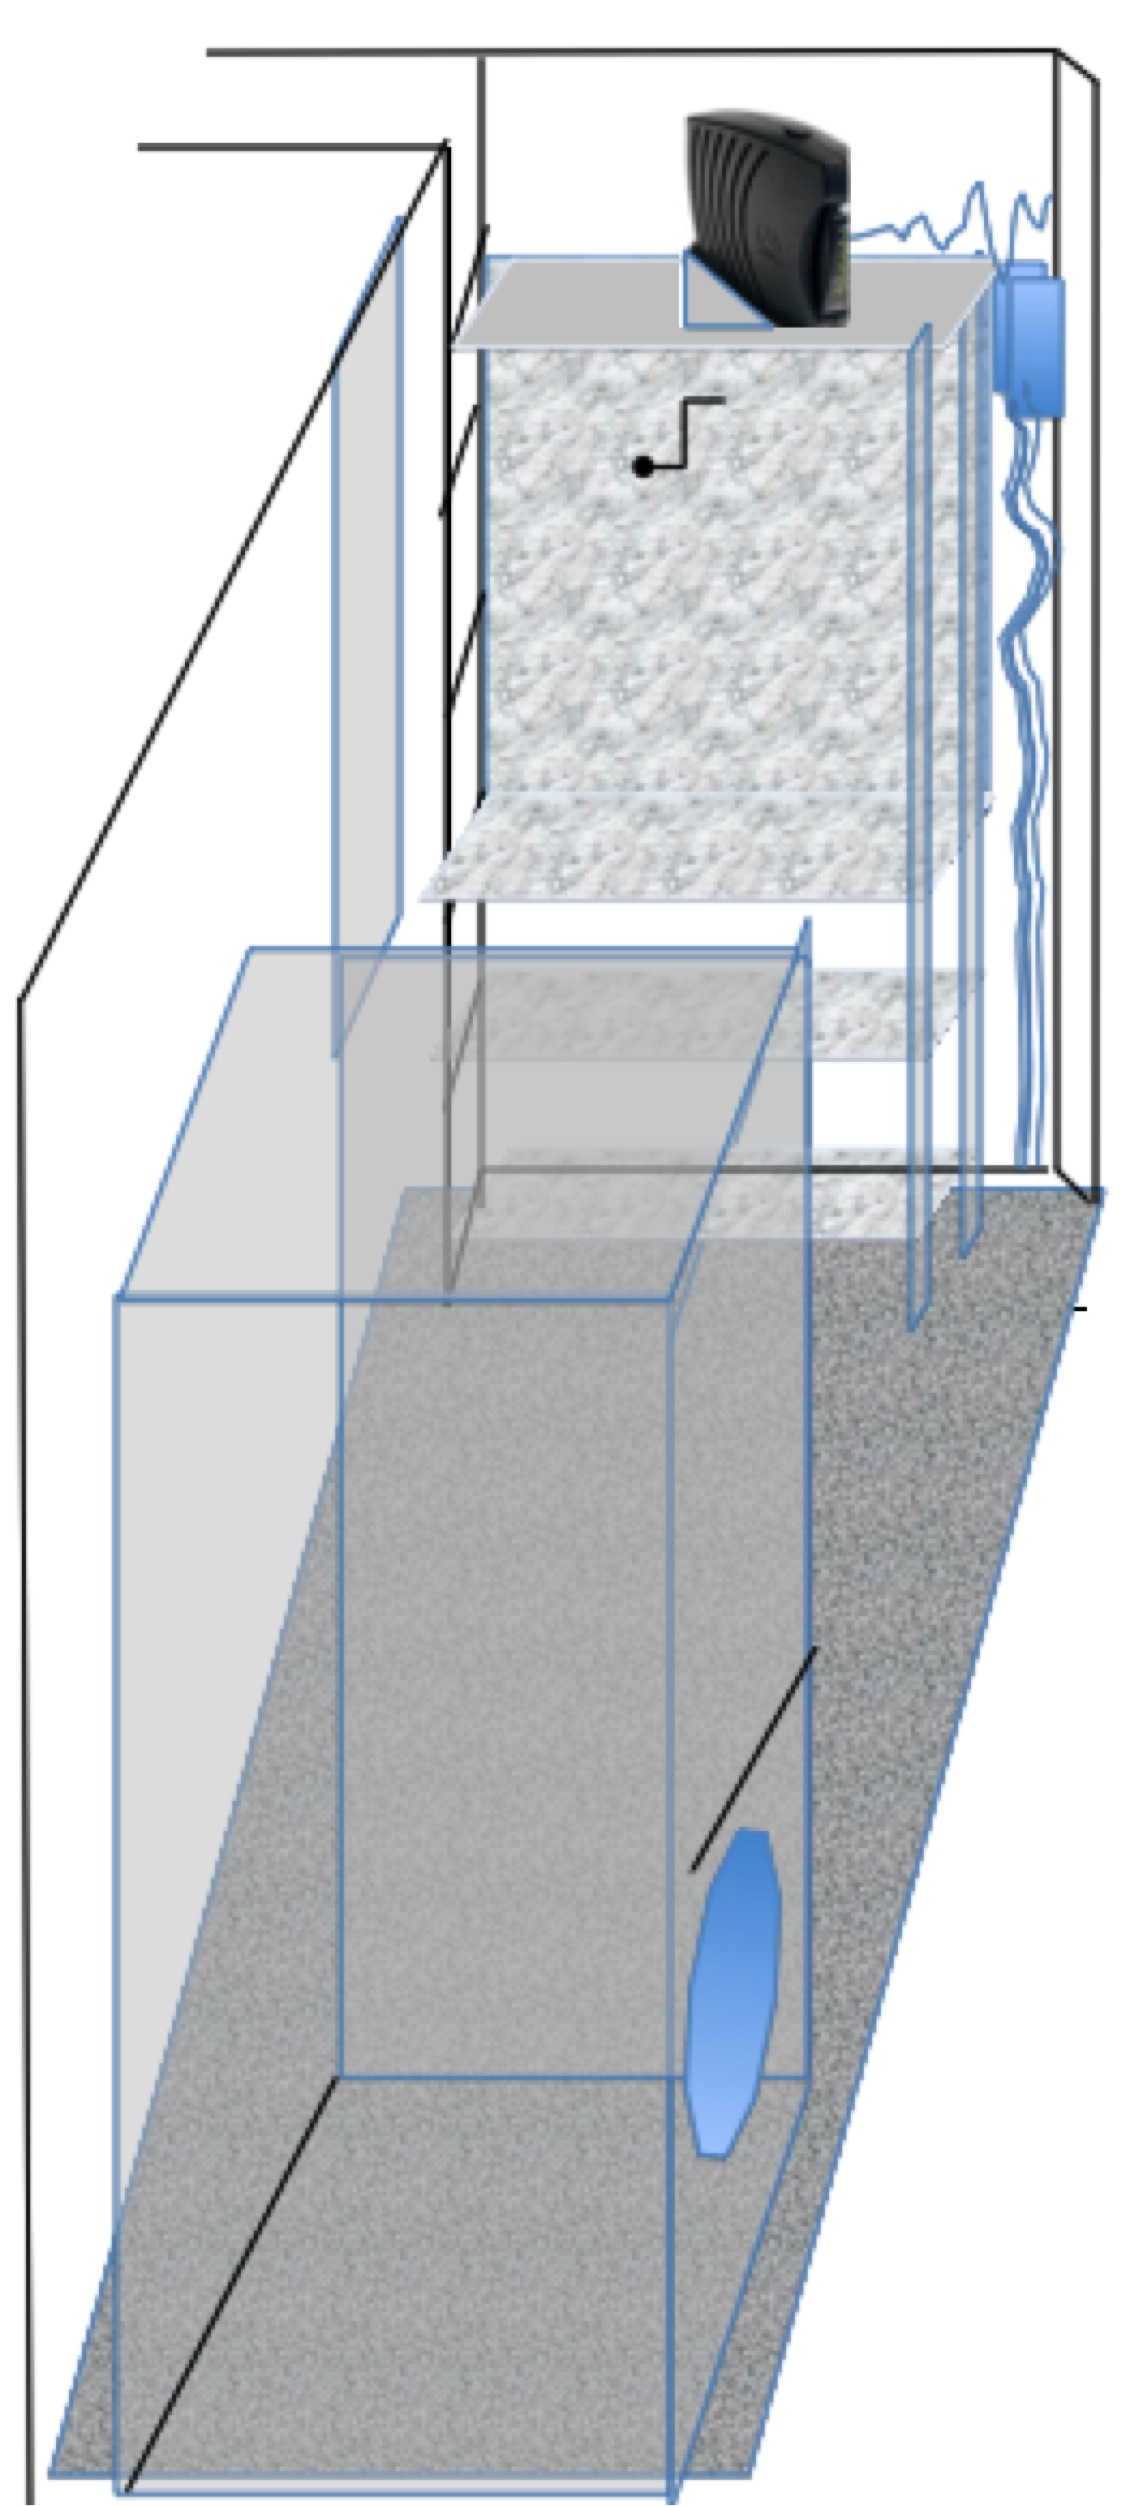 |
|
Renovate Laundry Area
- Remove existing appliances, door saddle, doors, decorative molding around doors, and flooring including tile trim on walls.
- Installation of new porcelain ceramic flooring (same as kitchen flooring) and ‘catch’ pan for washing machine.
- Fabrication/installation of adjustable shelving along entire right wall (width to match recessed alcove, ~11.5”) from floor to height of 24” (2 shelves) and adjustable shelving inside the recessed alcove only above that (3 or 4 shelves).
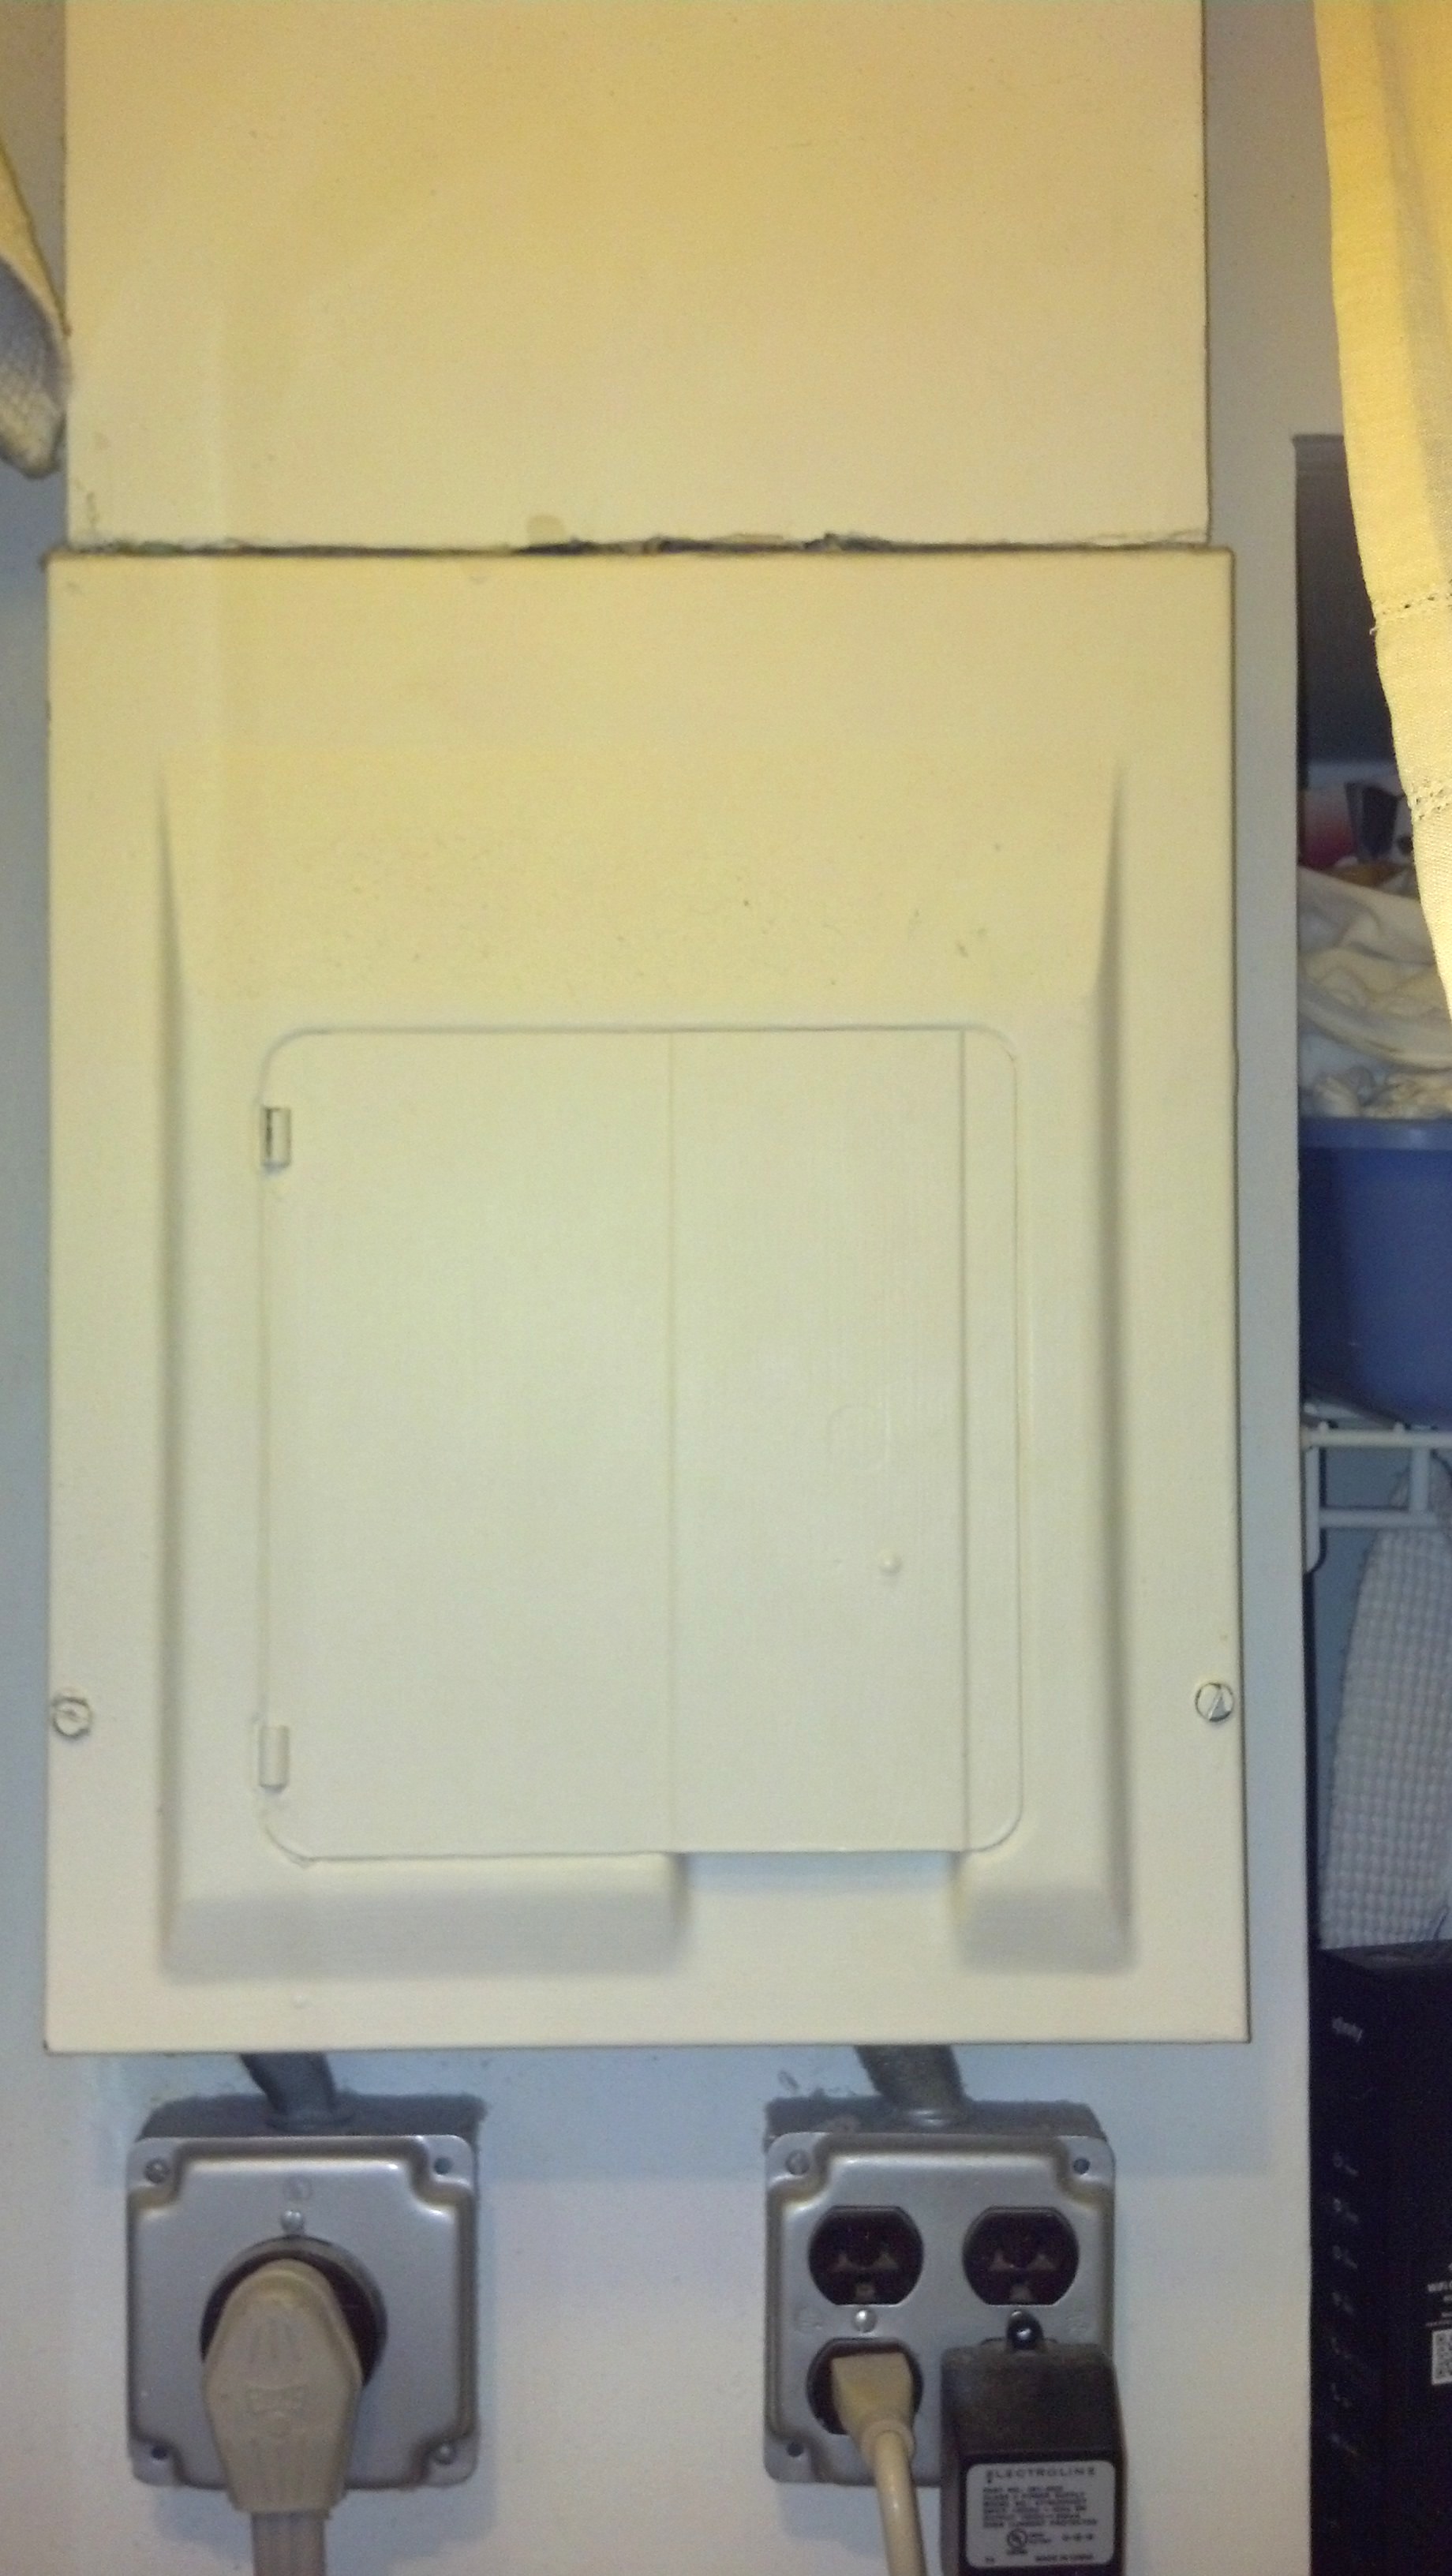
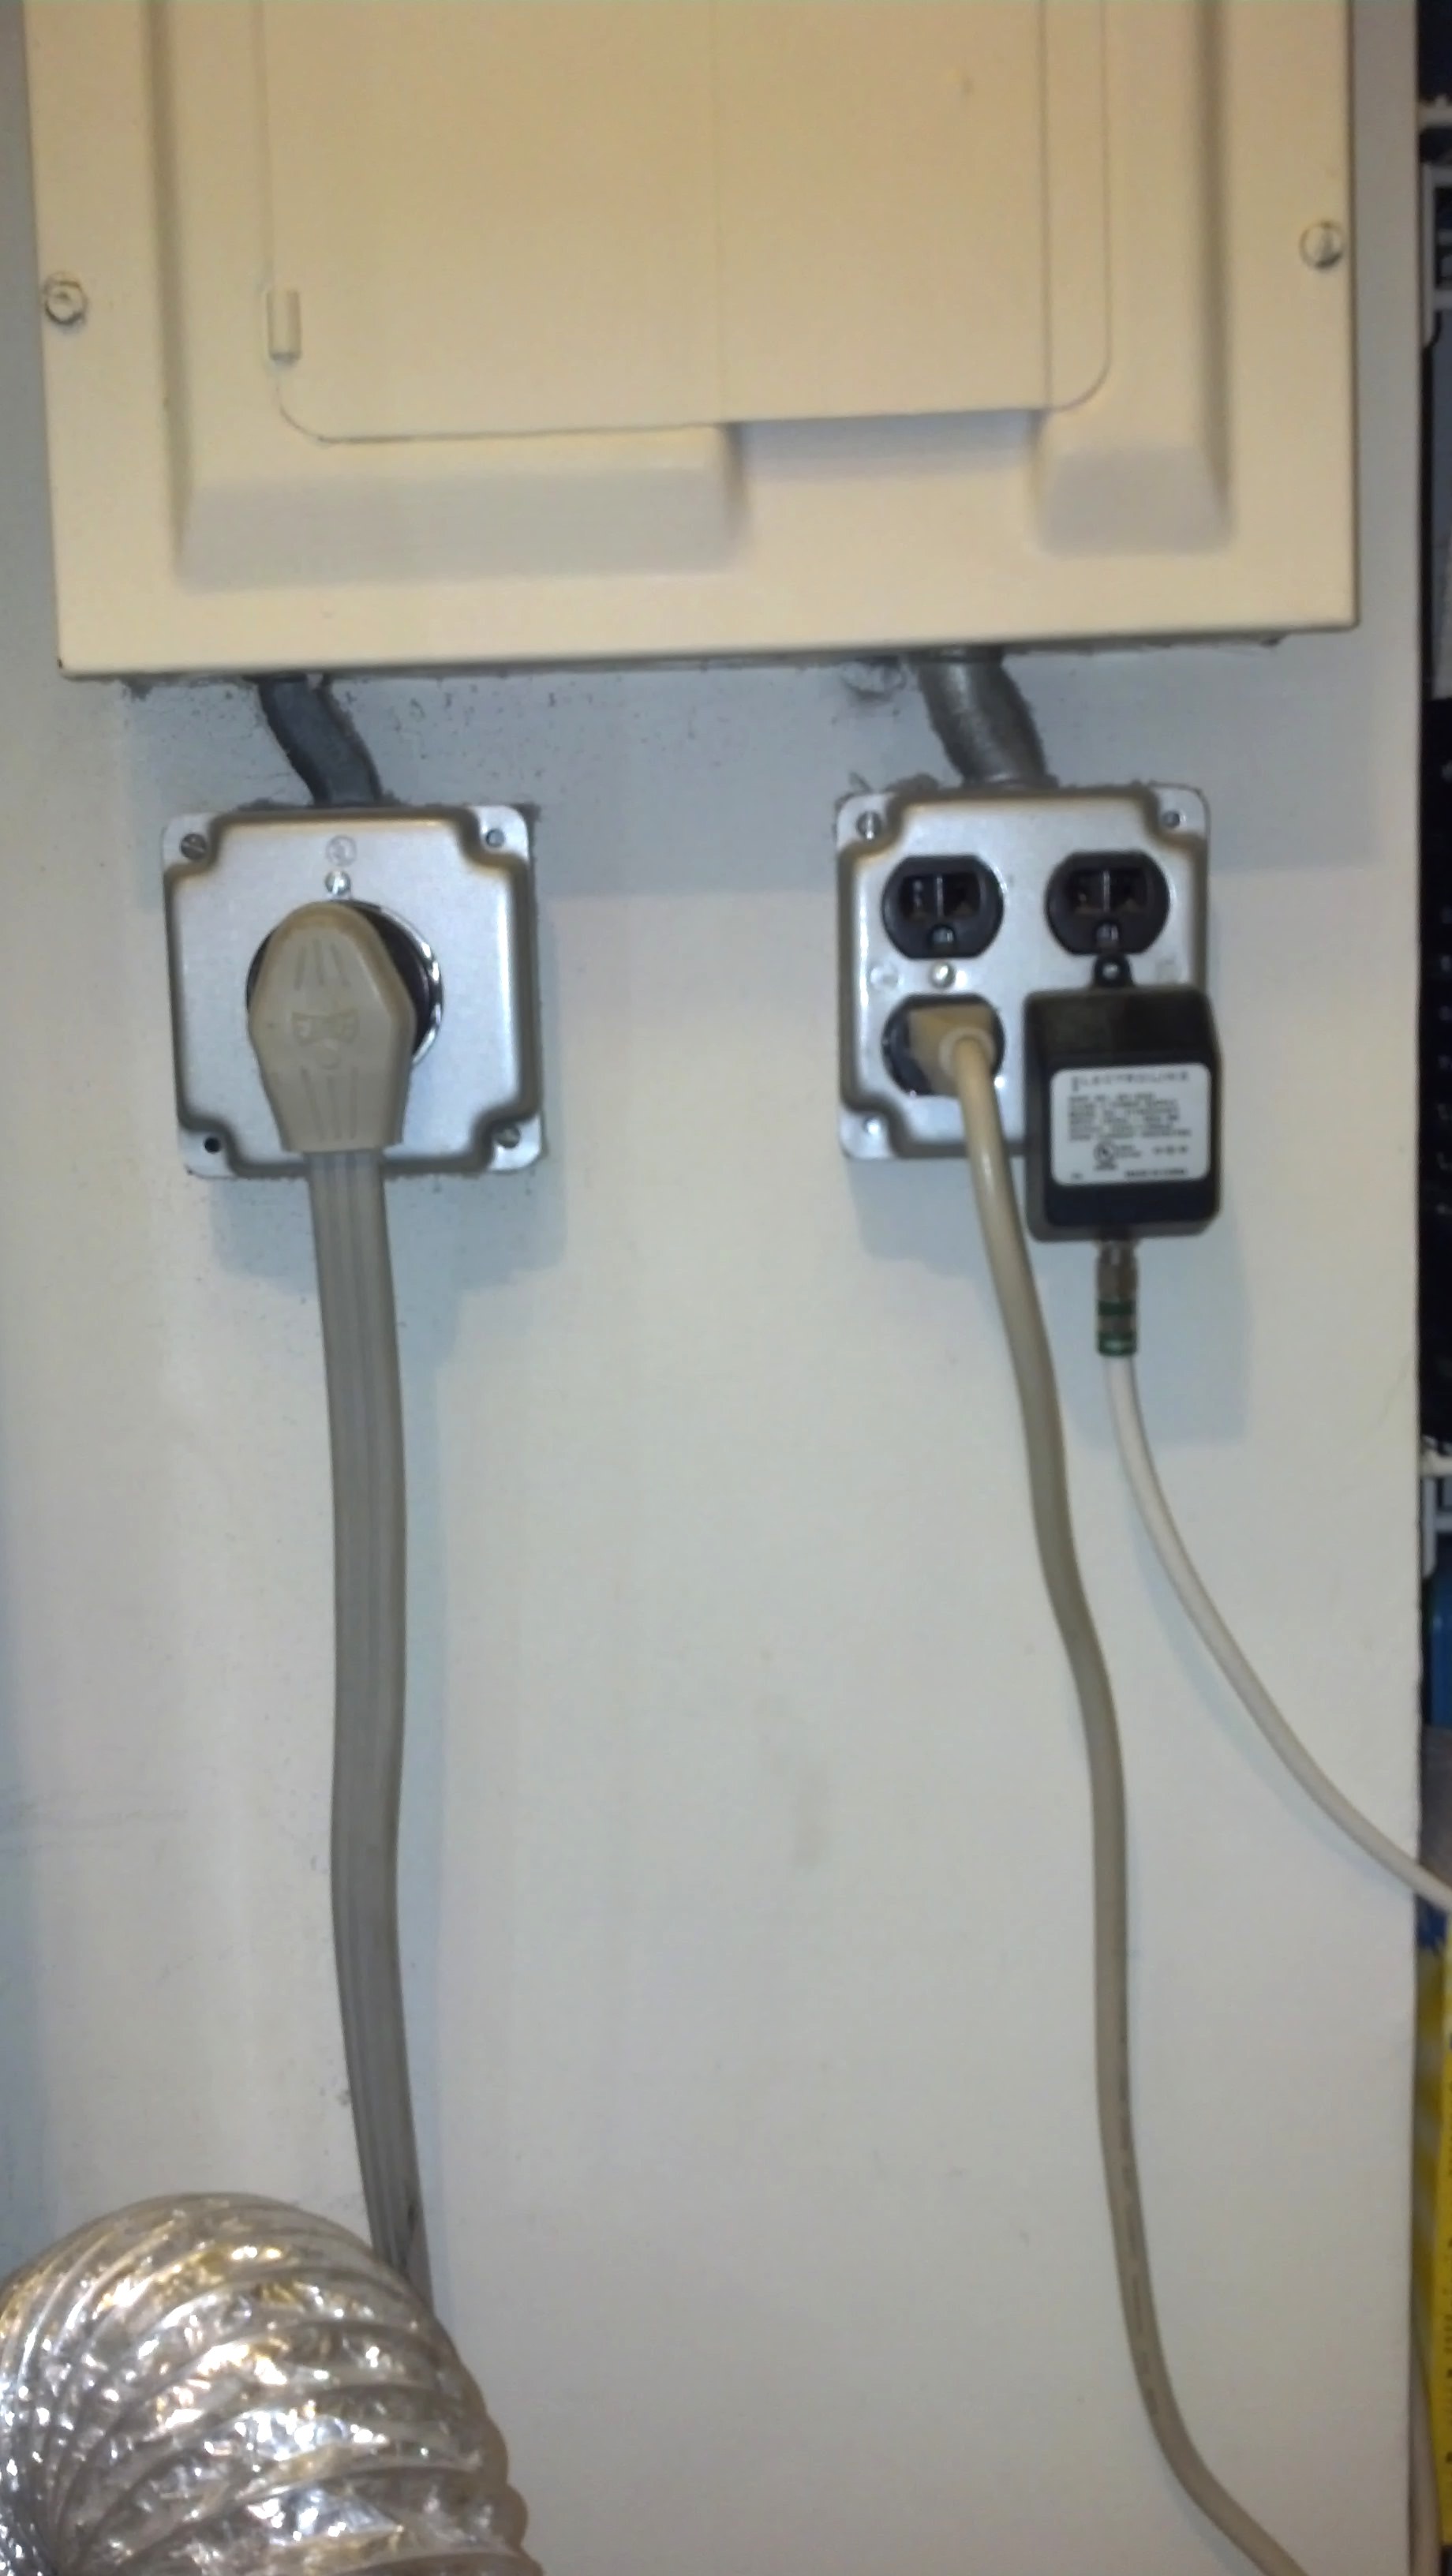
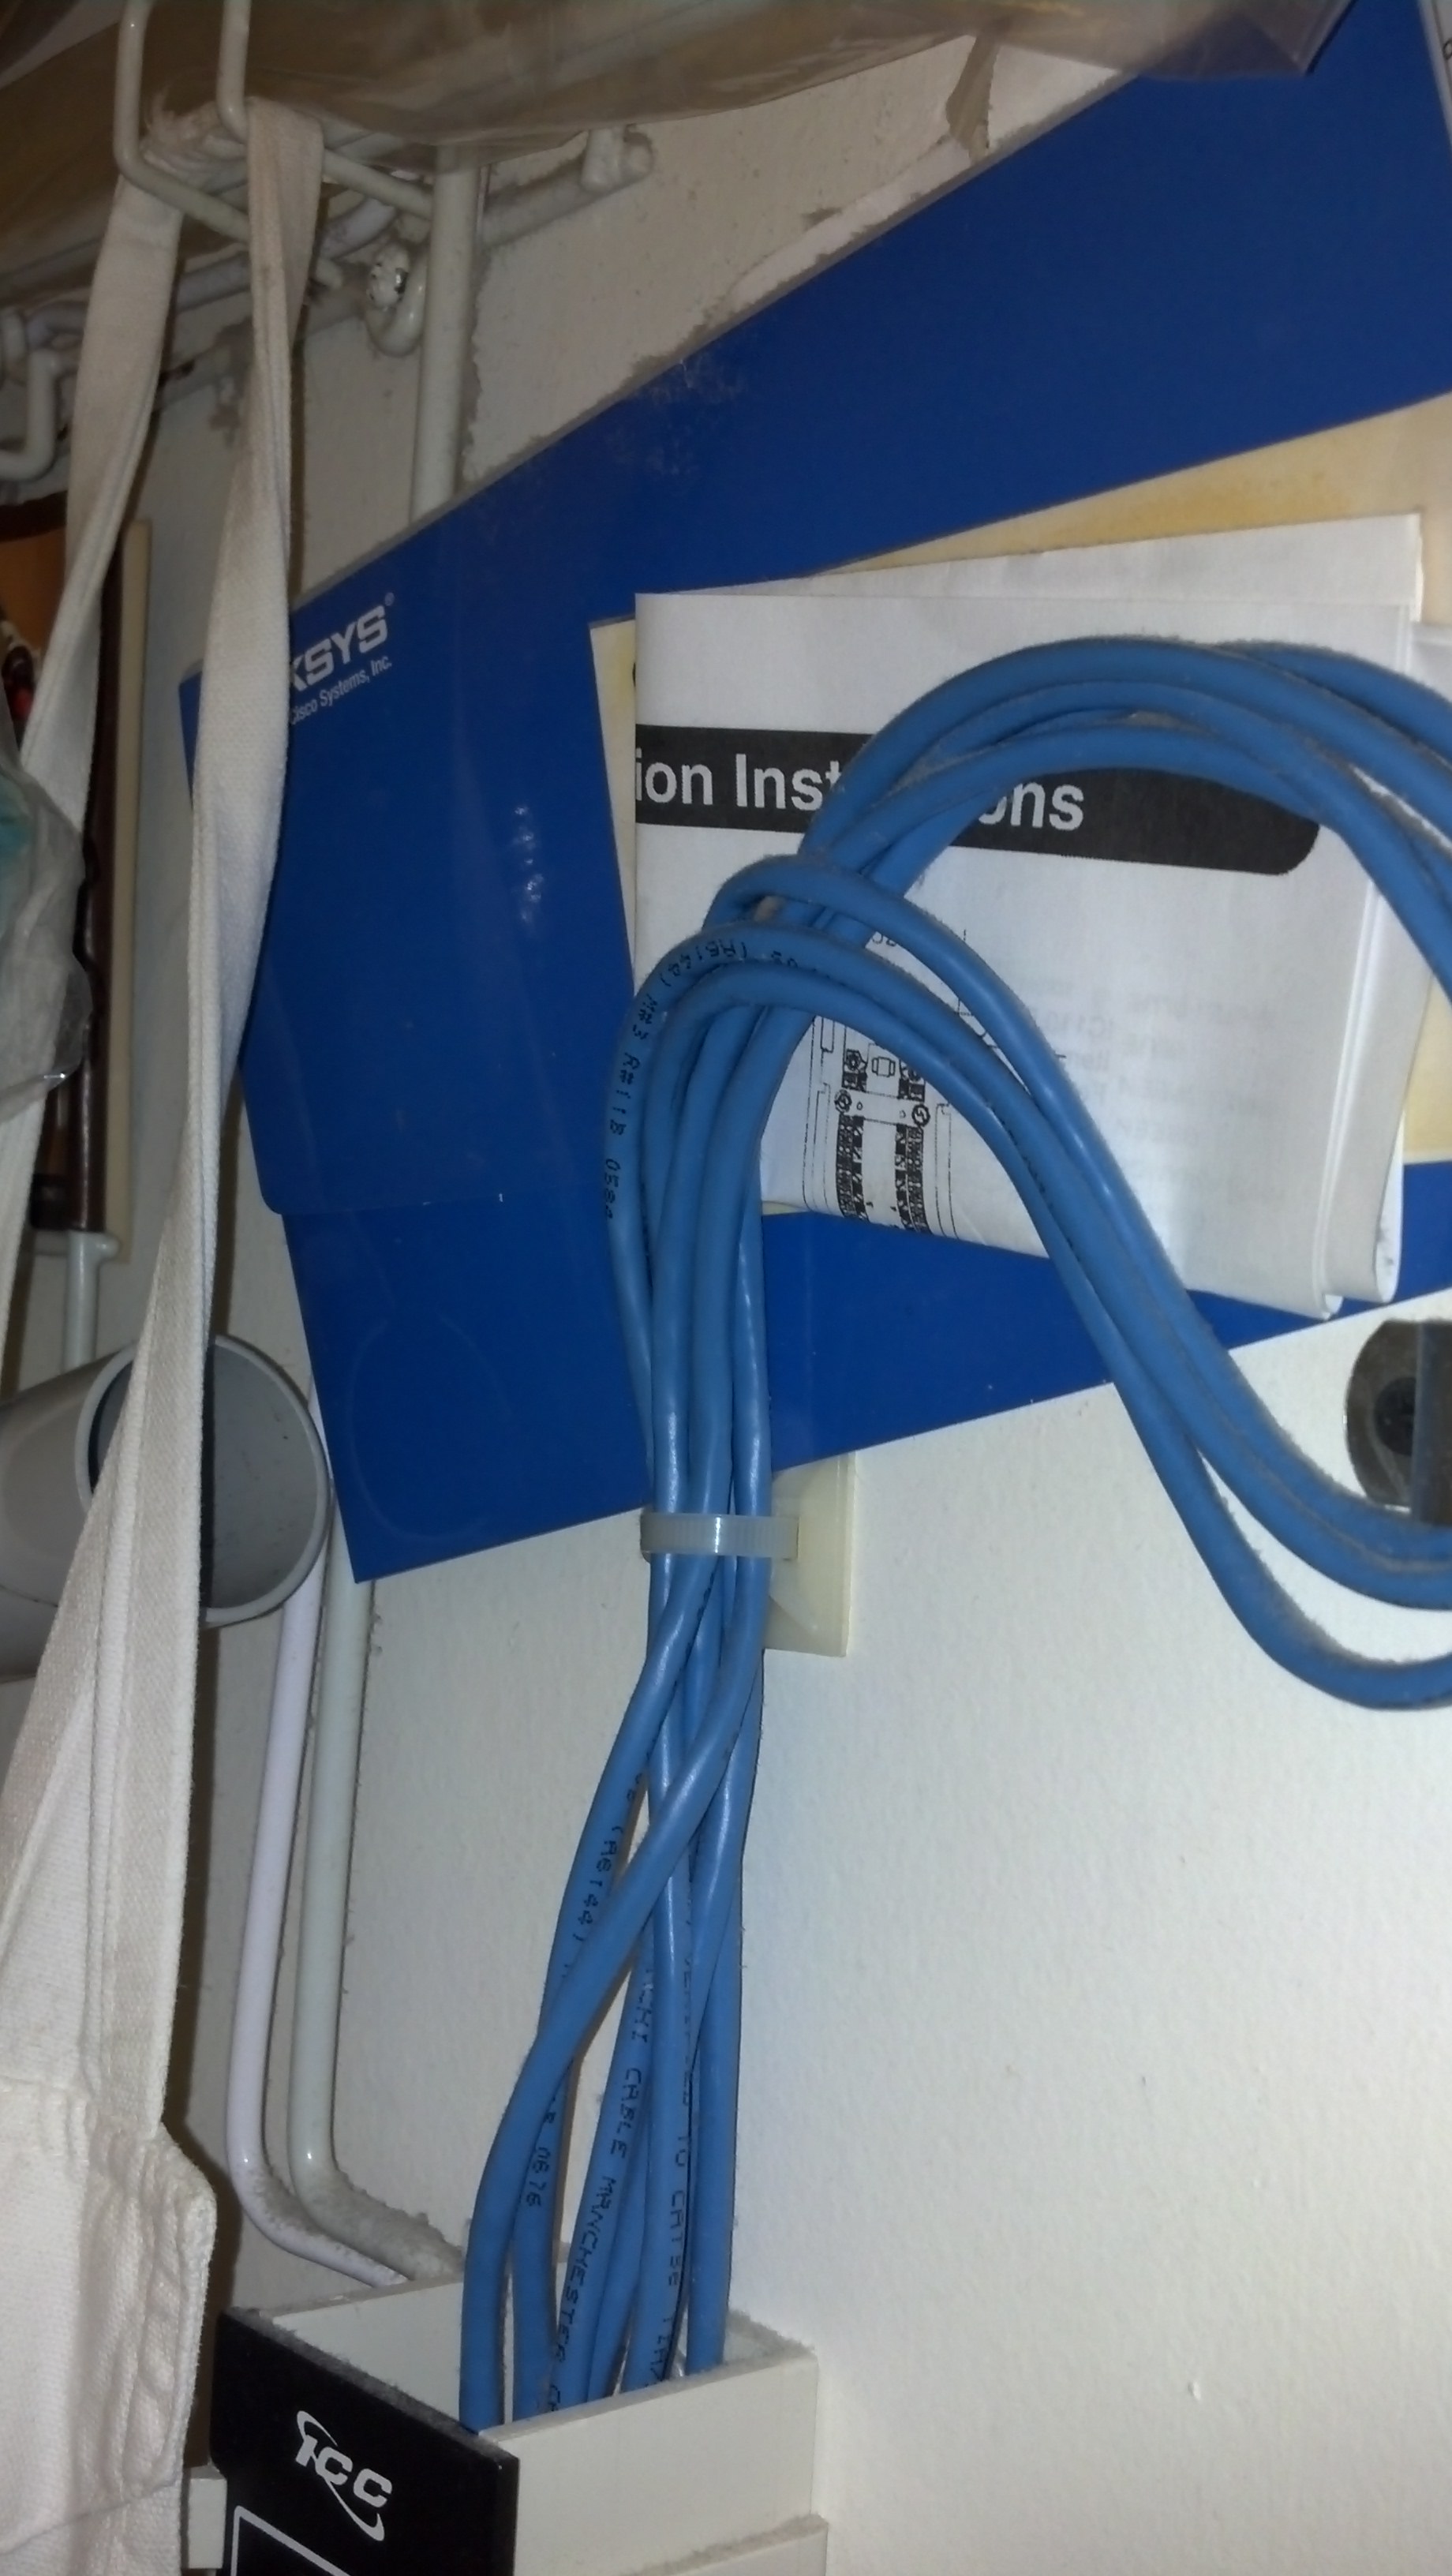
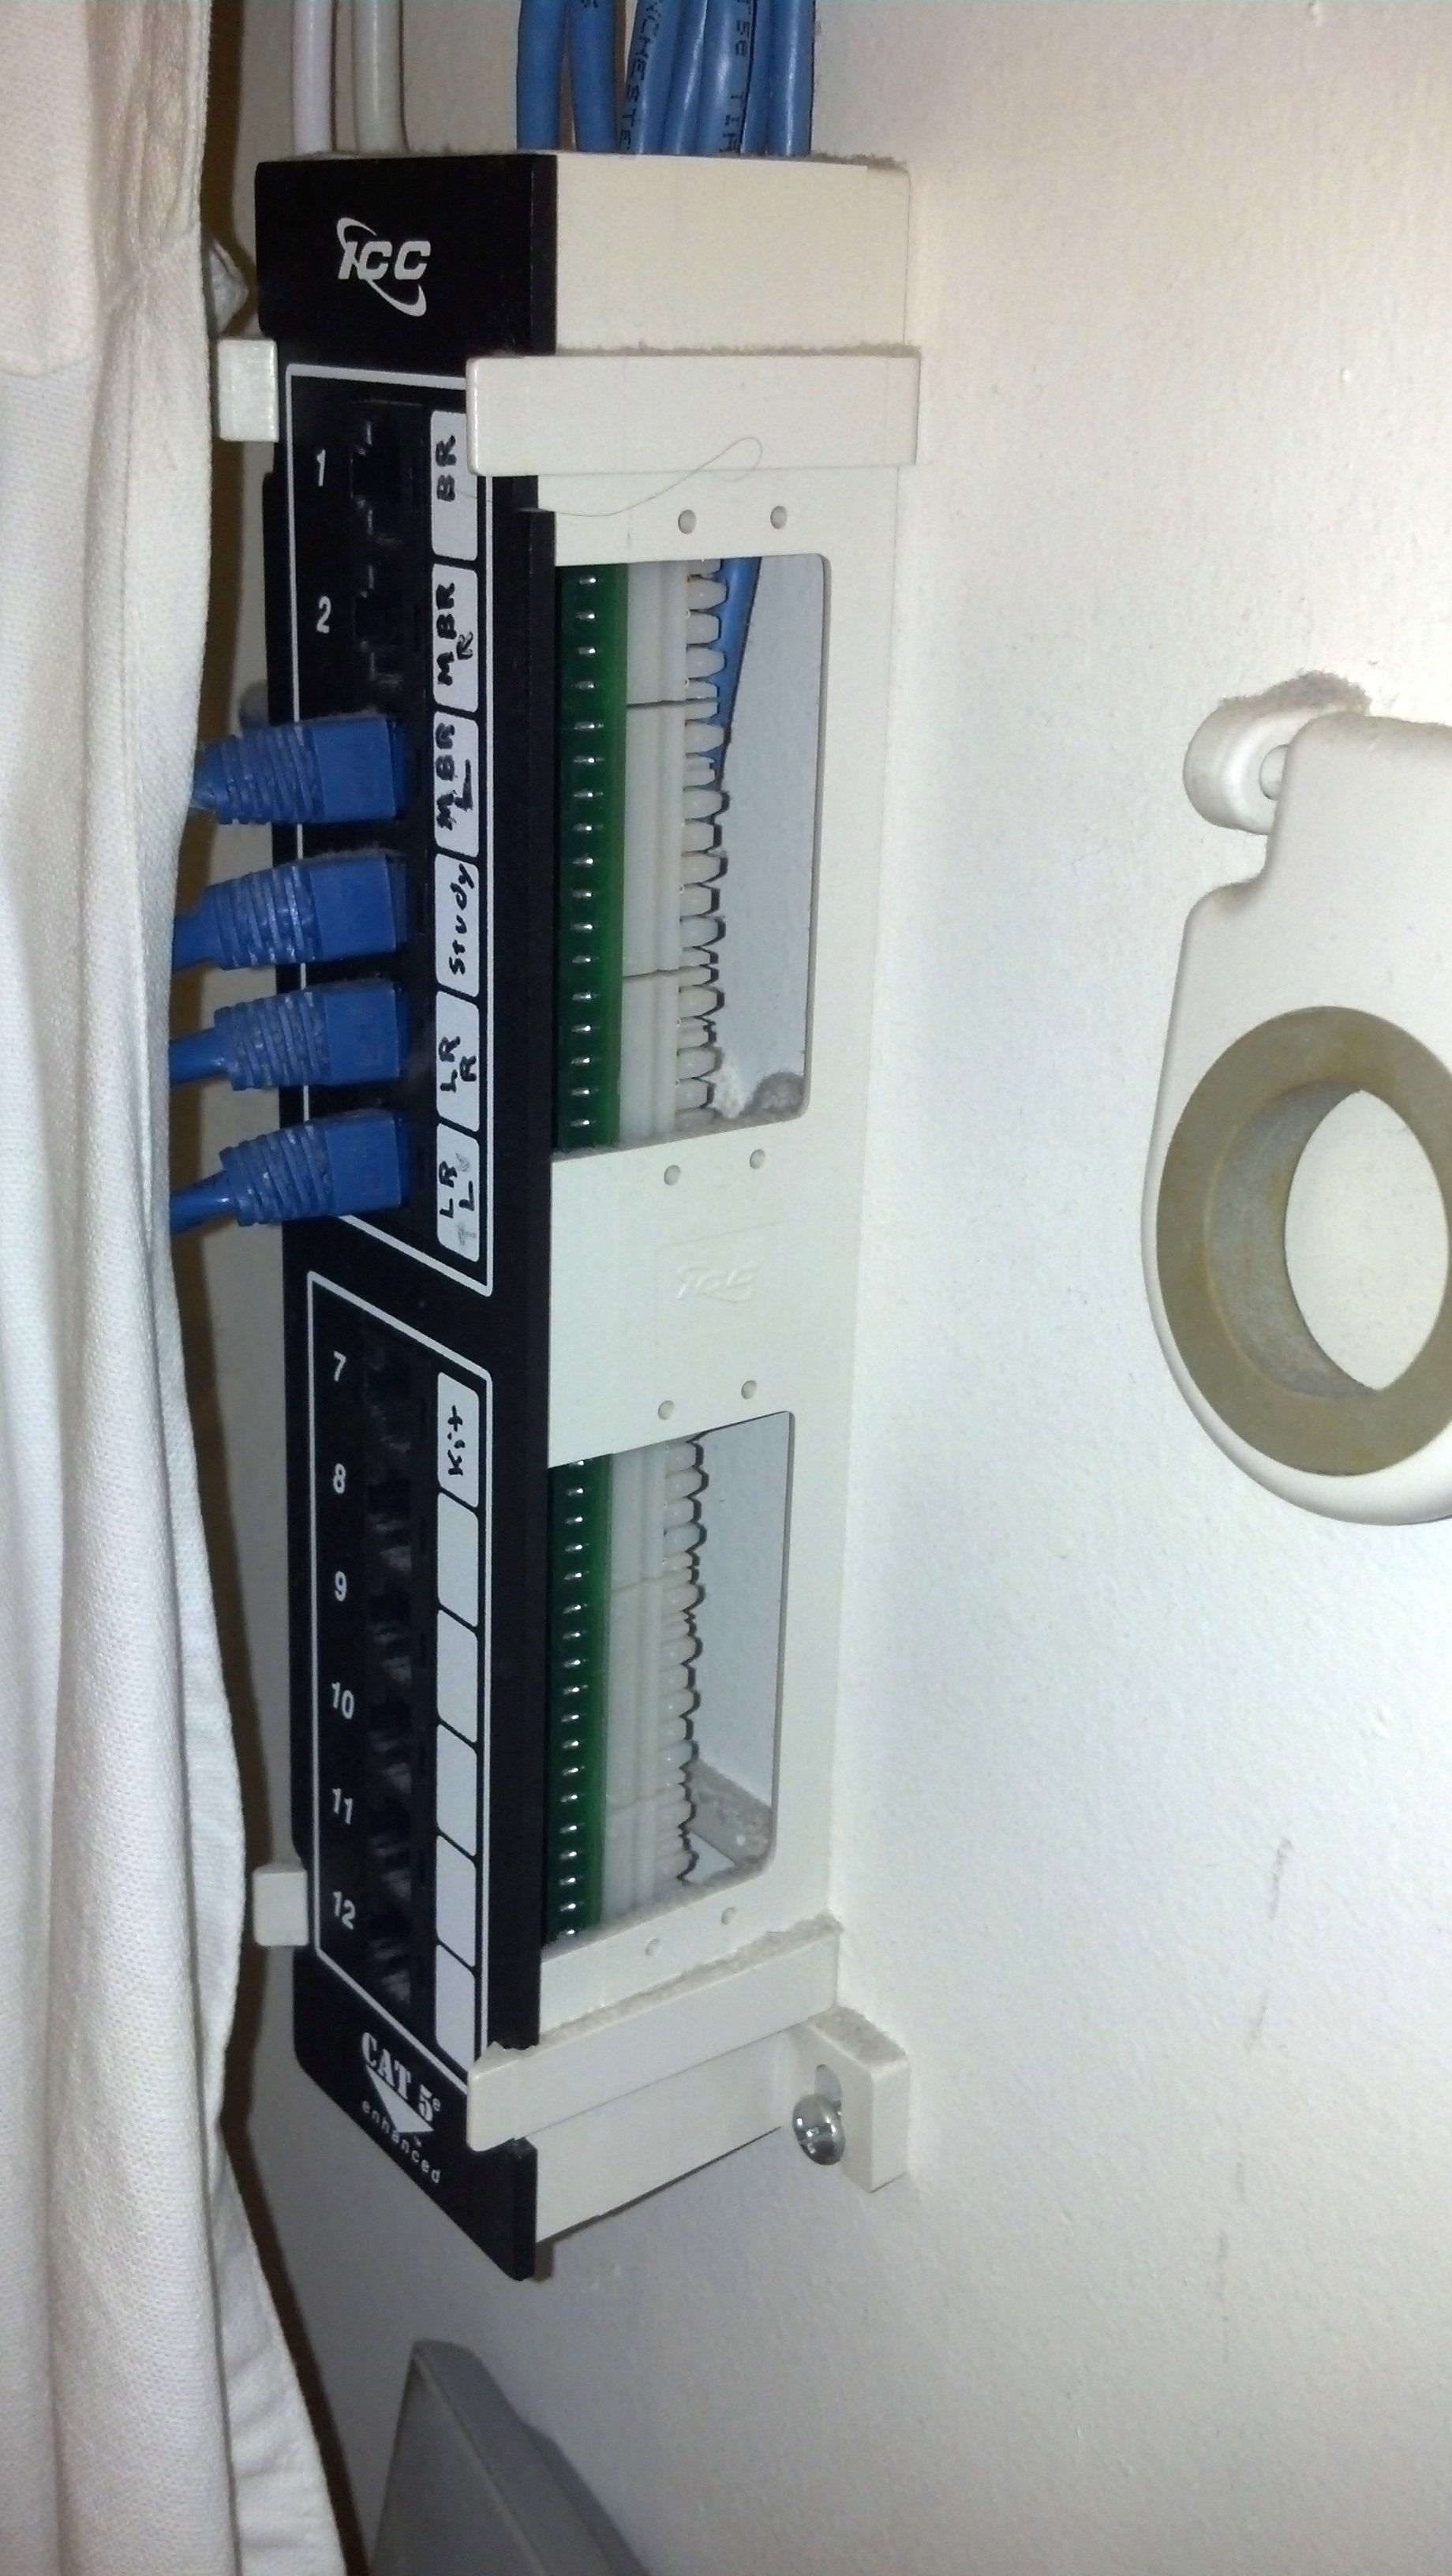
- Installation of electrical box for telecom wiring & equipment in niche inset into wall (if possible) in upper, forward right corner of room, including 8” hinged door and relocation of wiring and outlets.
- Installation of two double ‘Shaker-style’ folding doors and either refinish wall exposed by removed decorative trim and/or installation of ‘Shaker-style’ decorative trim.
- Installation, including electrical wiring and plumbing, of over-under washer dryer.
- Finishing carpentry/repainting following installation of appliances.
- NOTES:
- No changes will be made to the ceiling.
- 1/8” grout on flooring tile
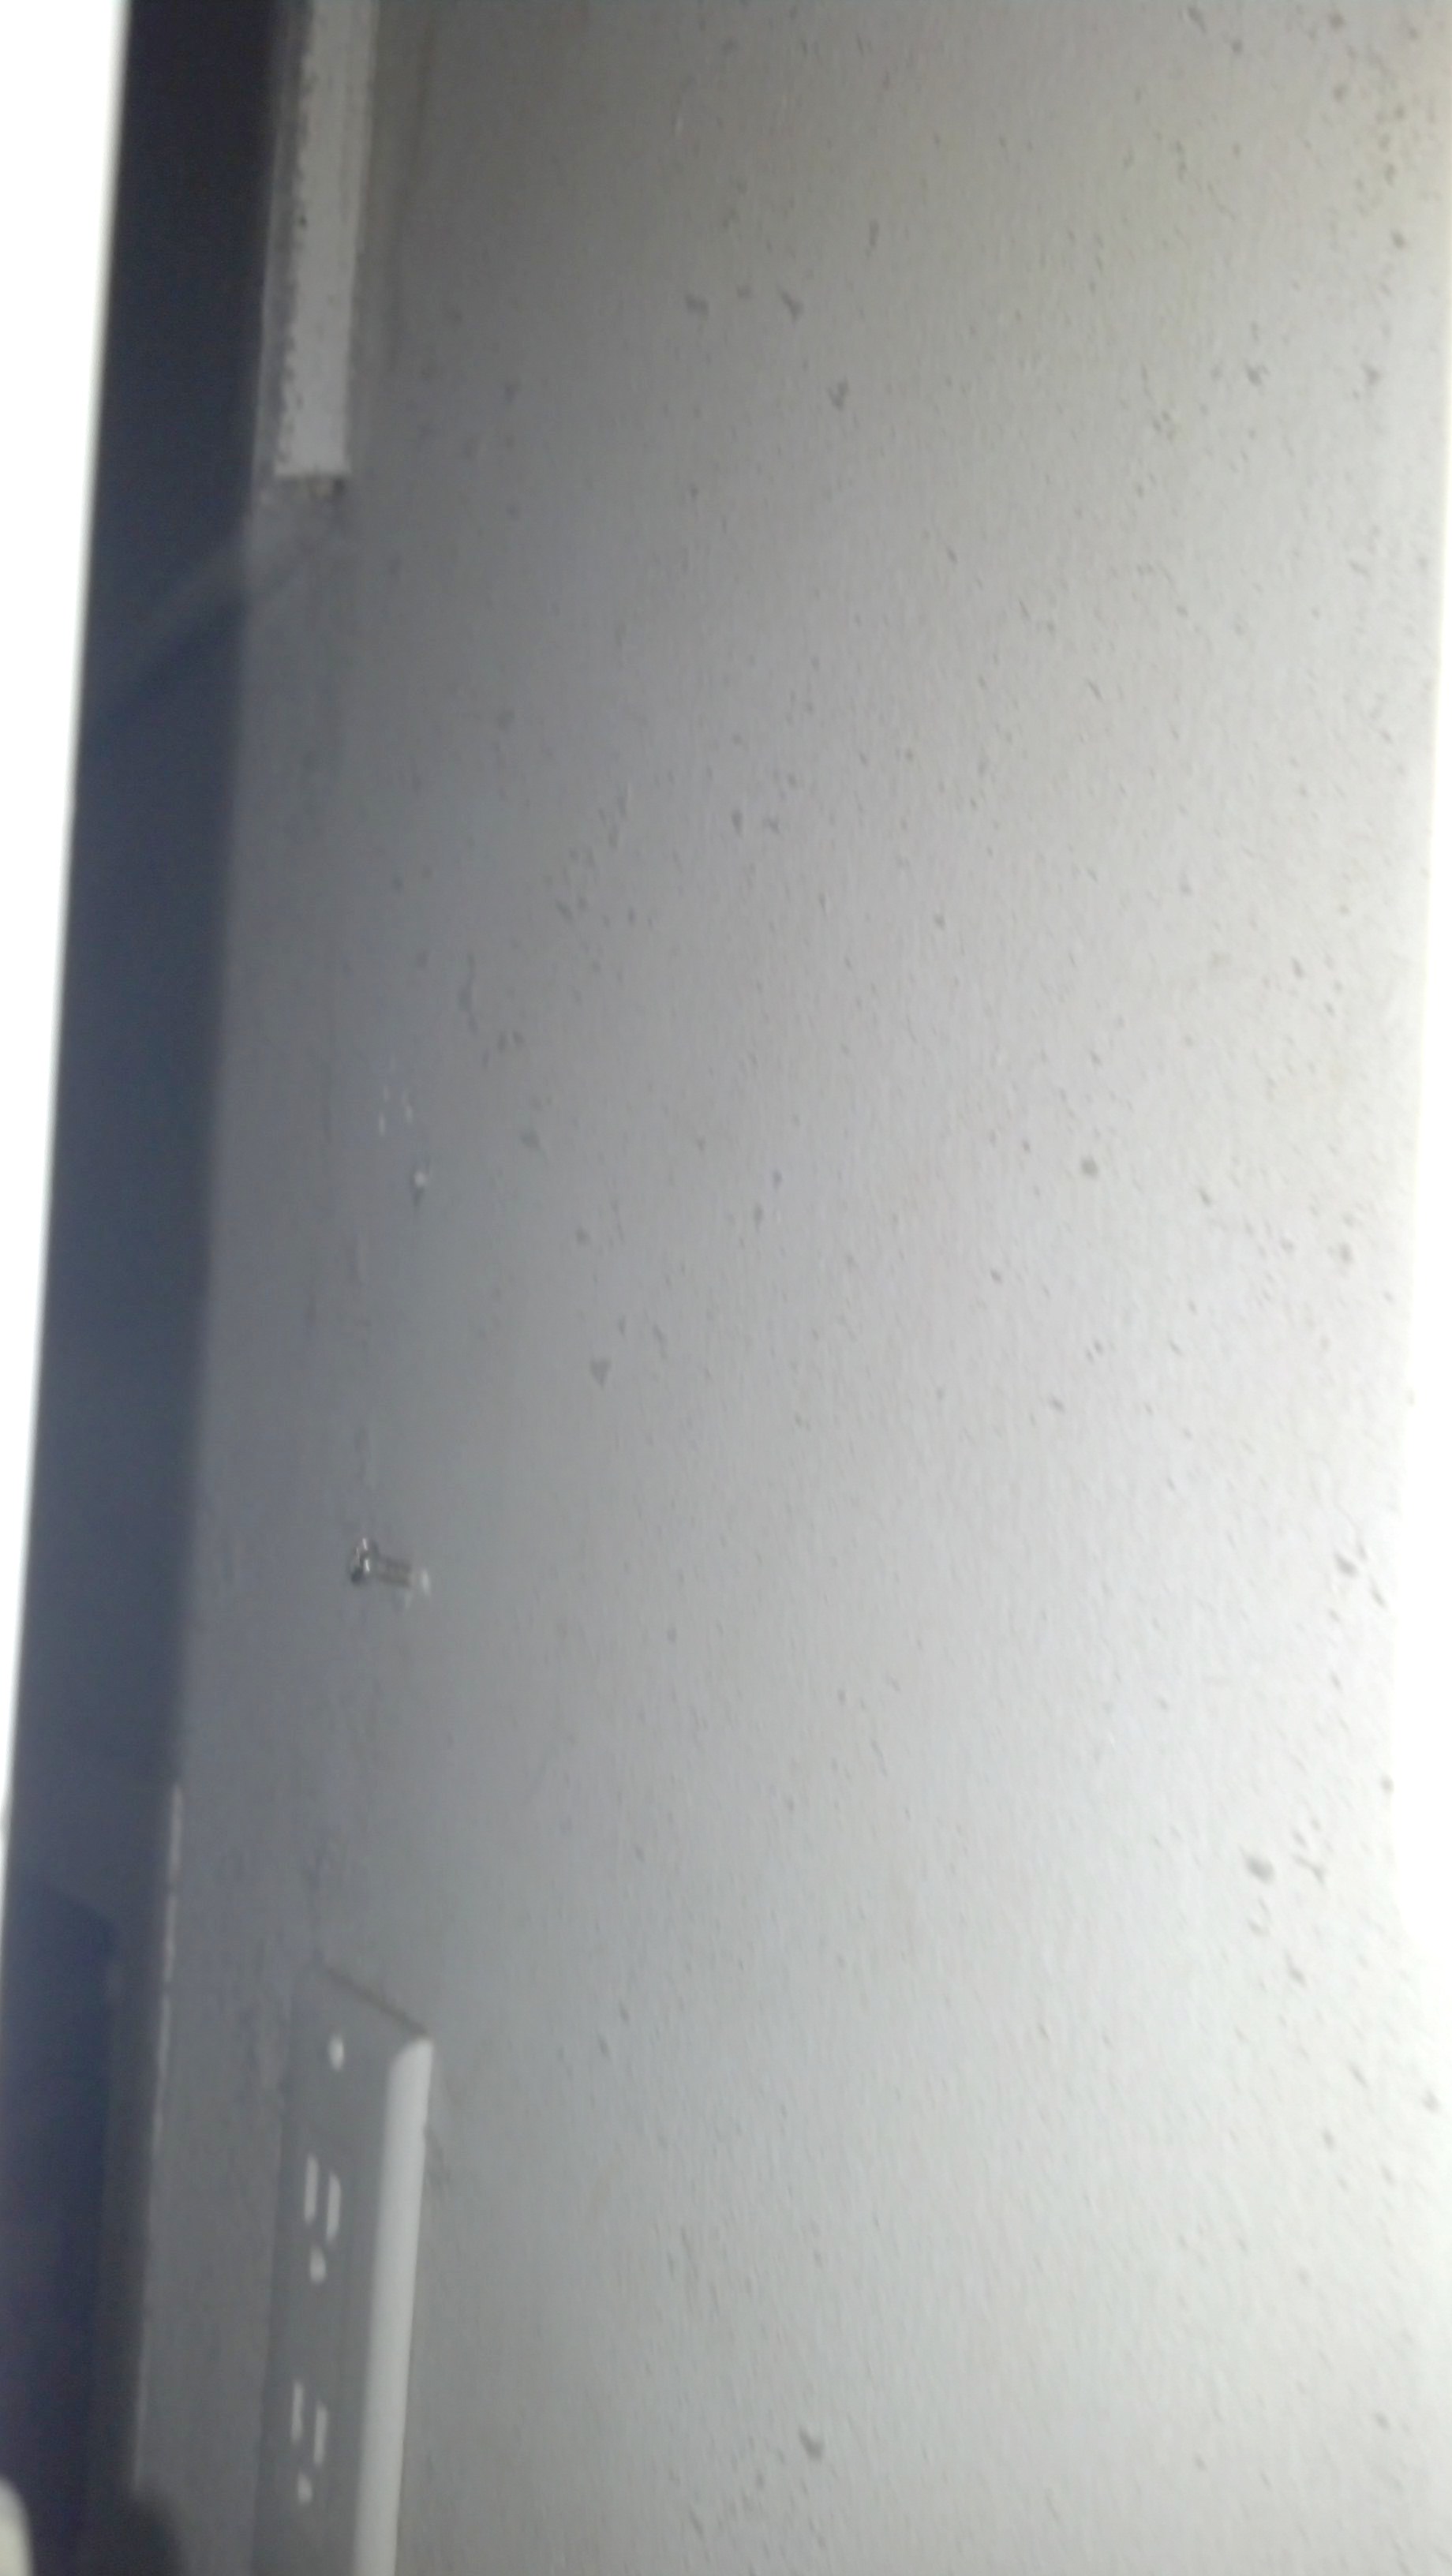
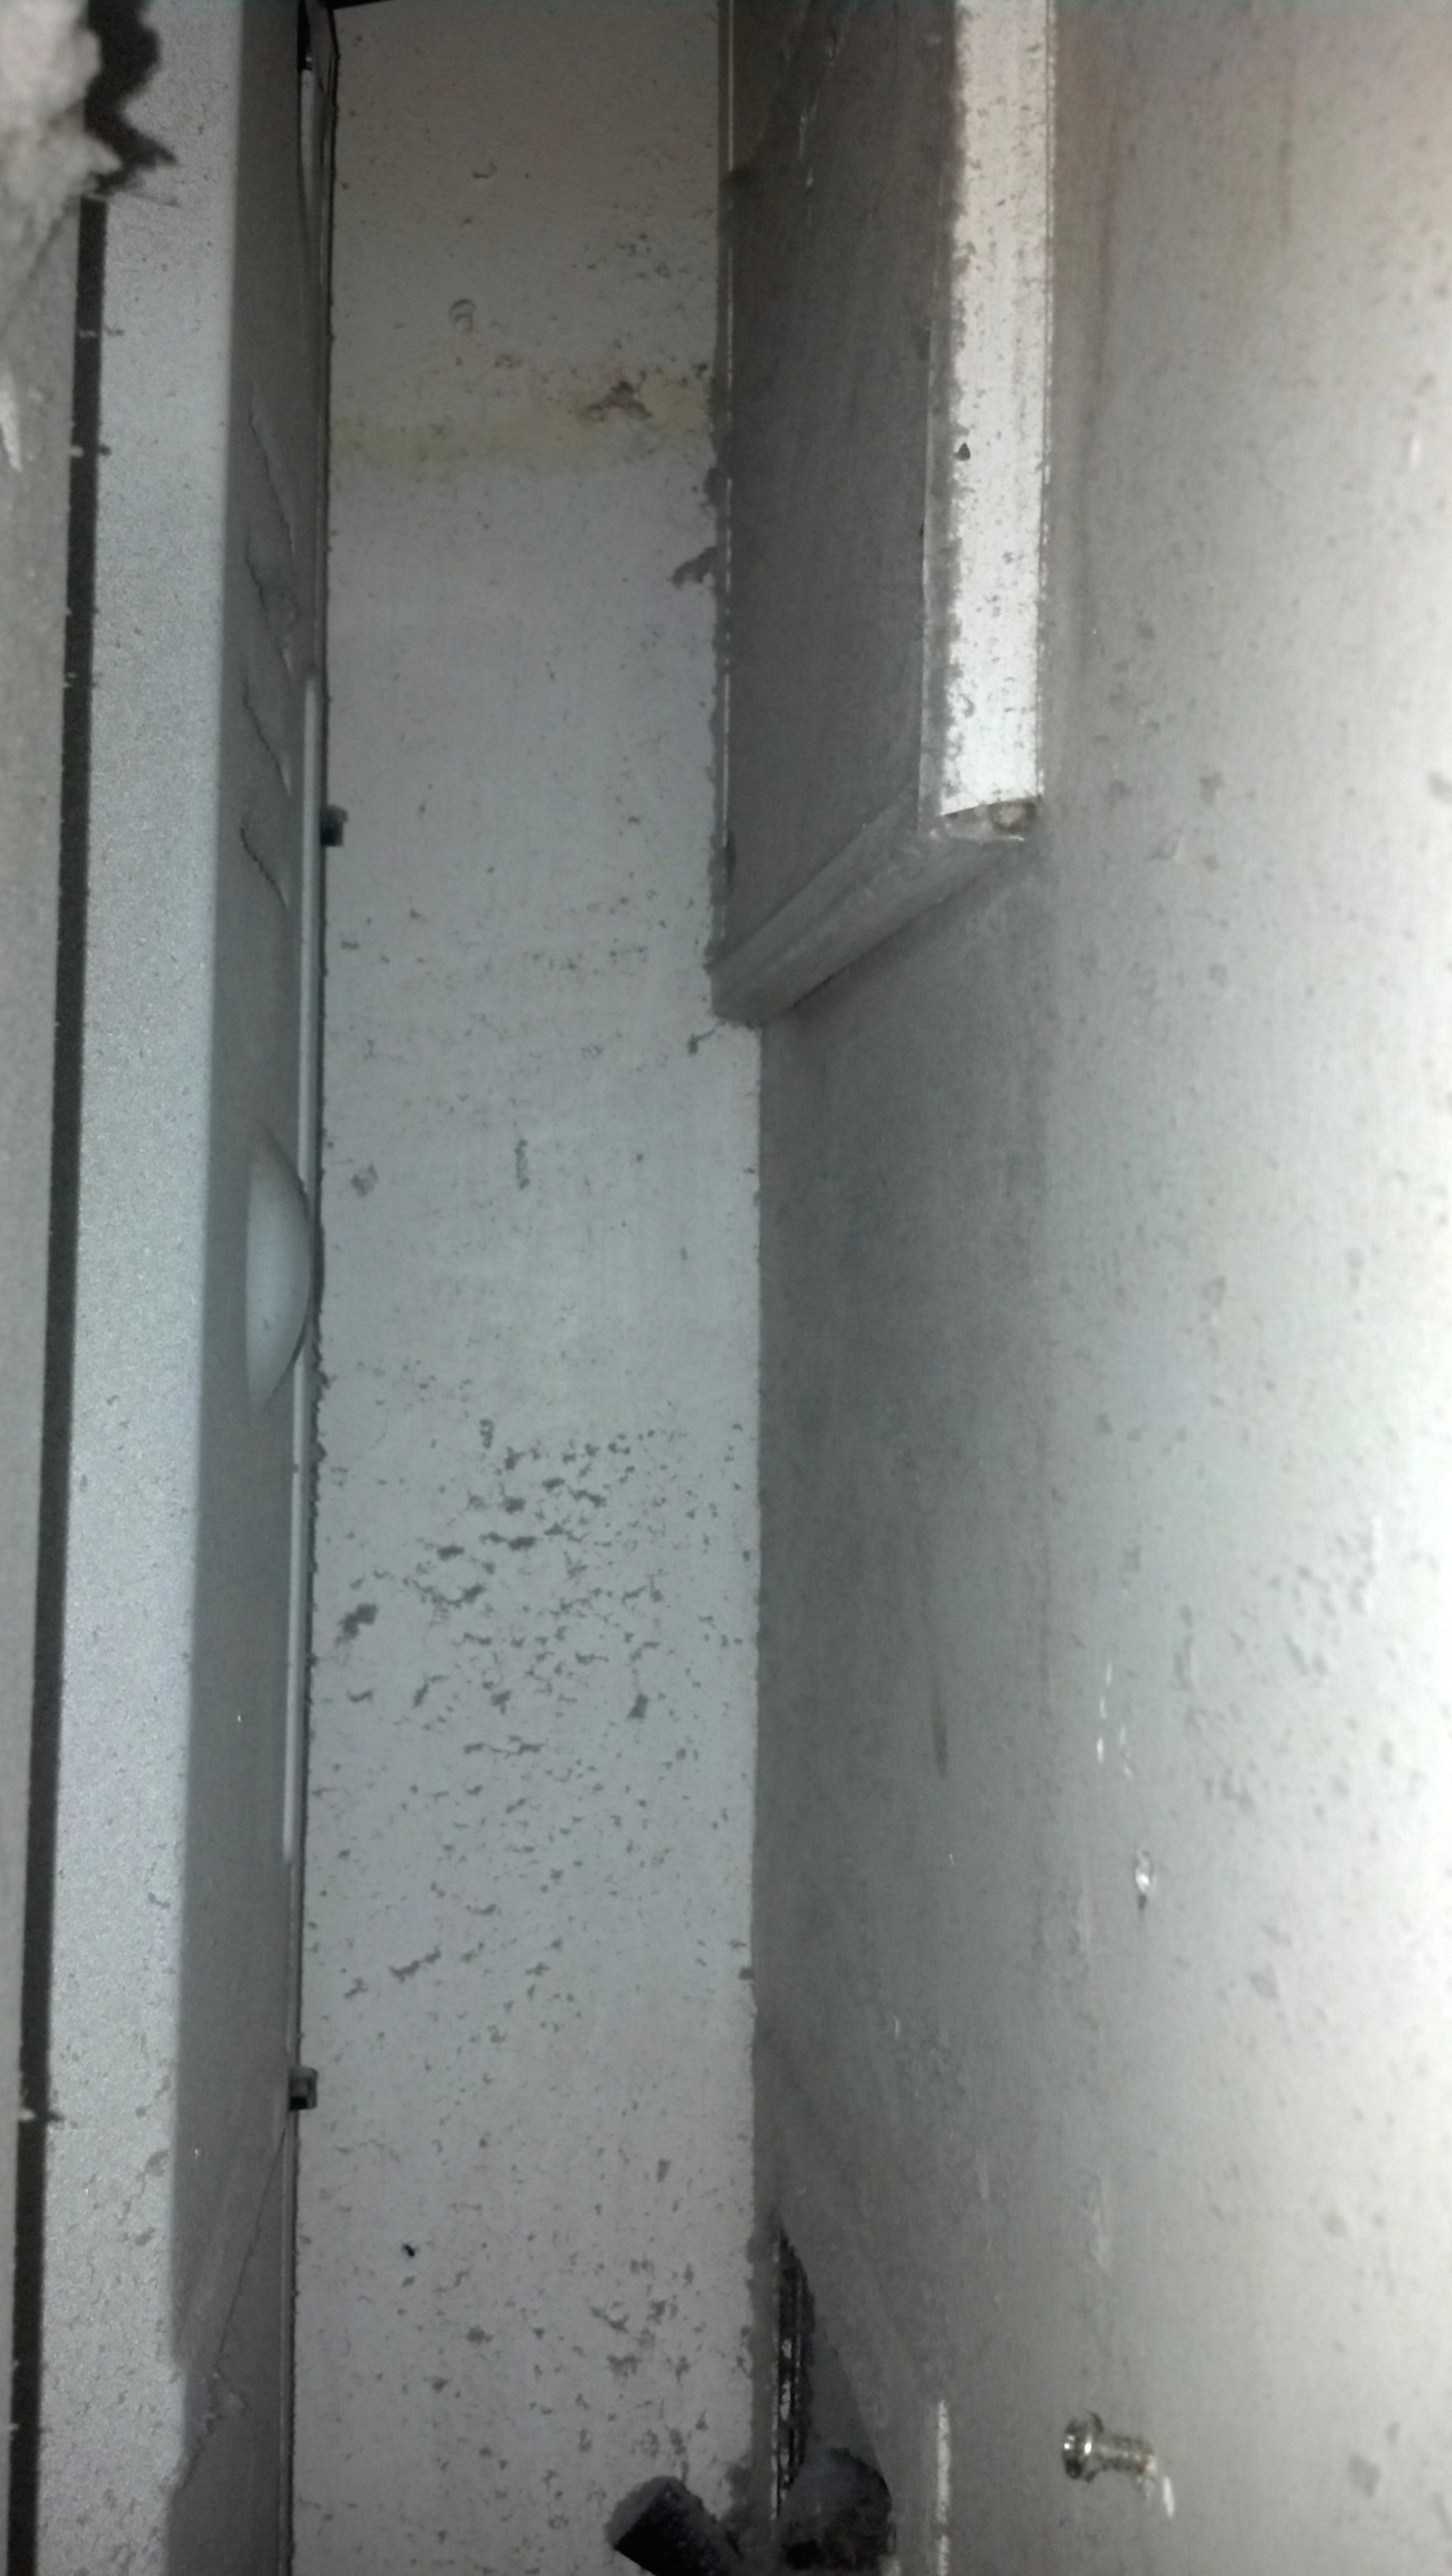
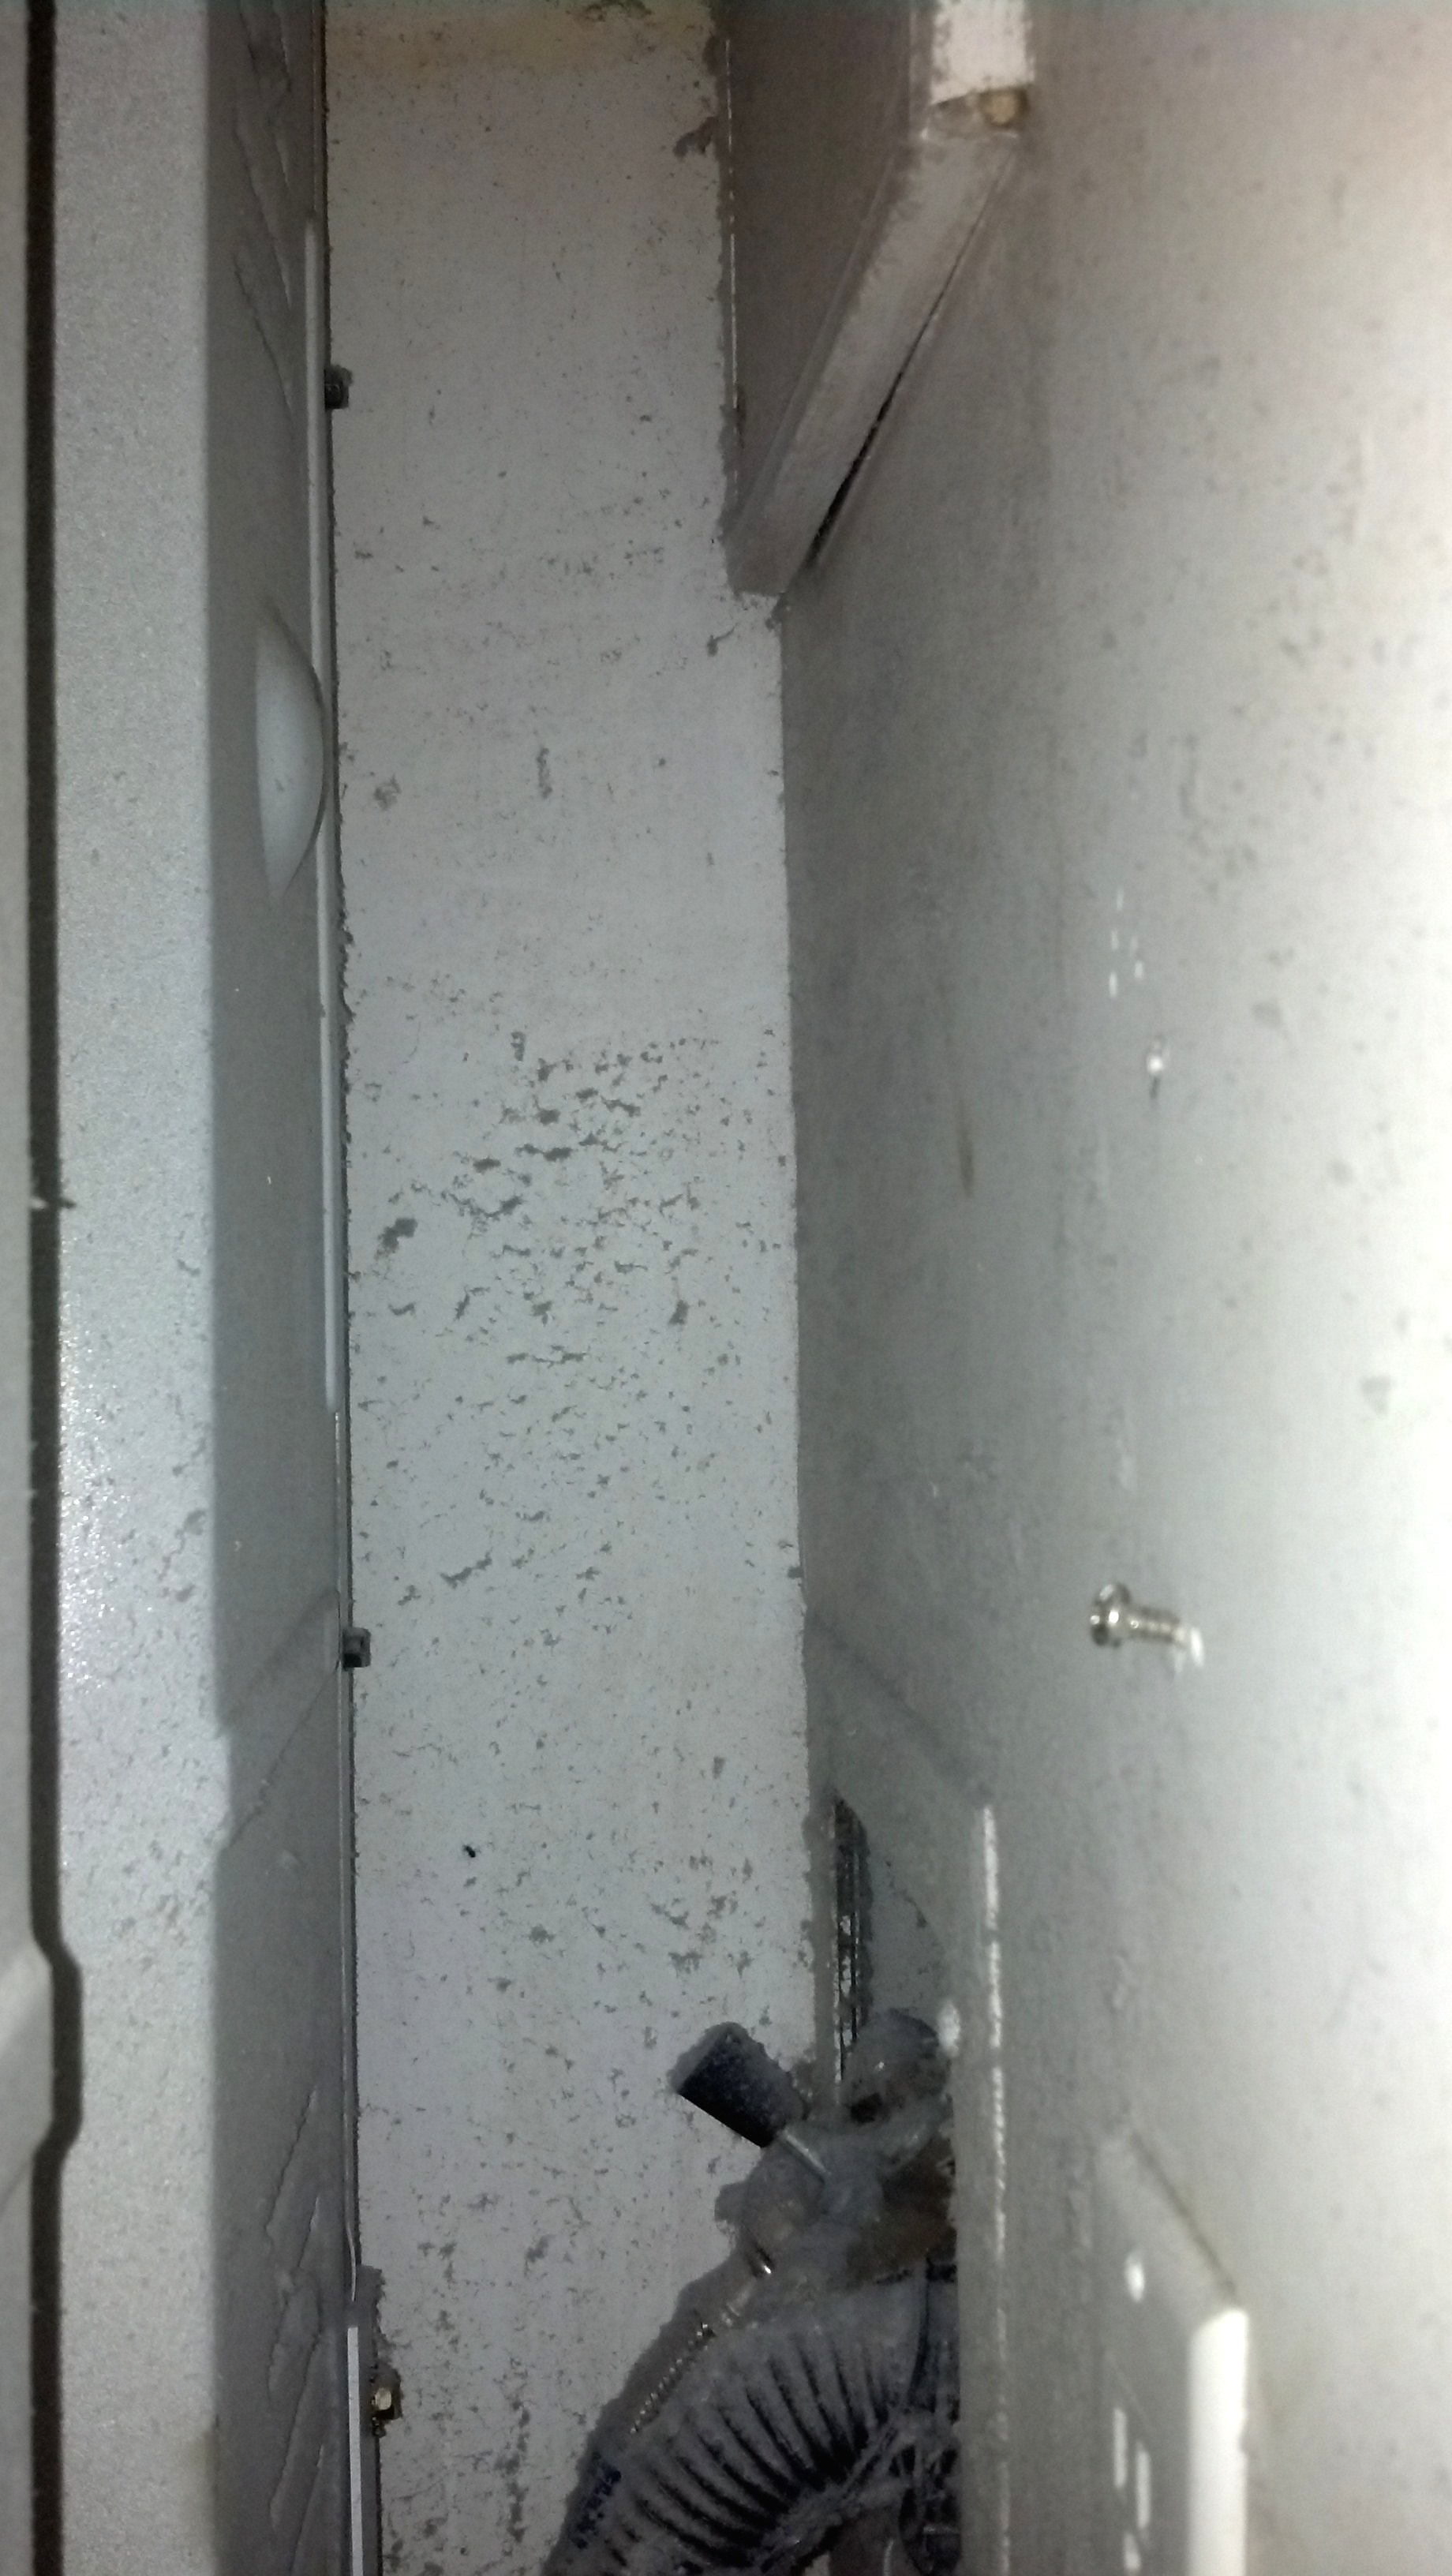
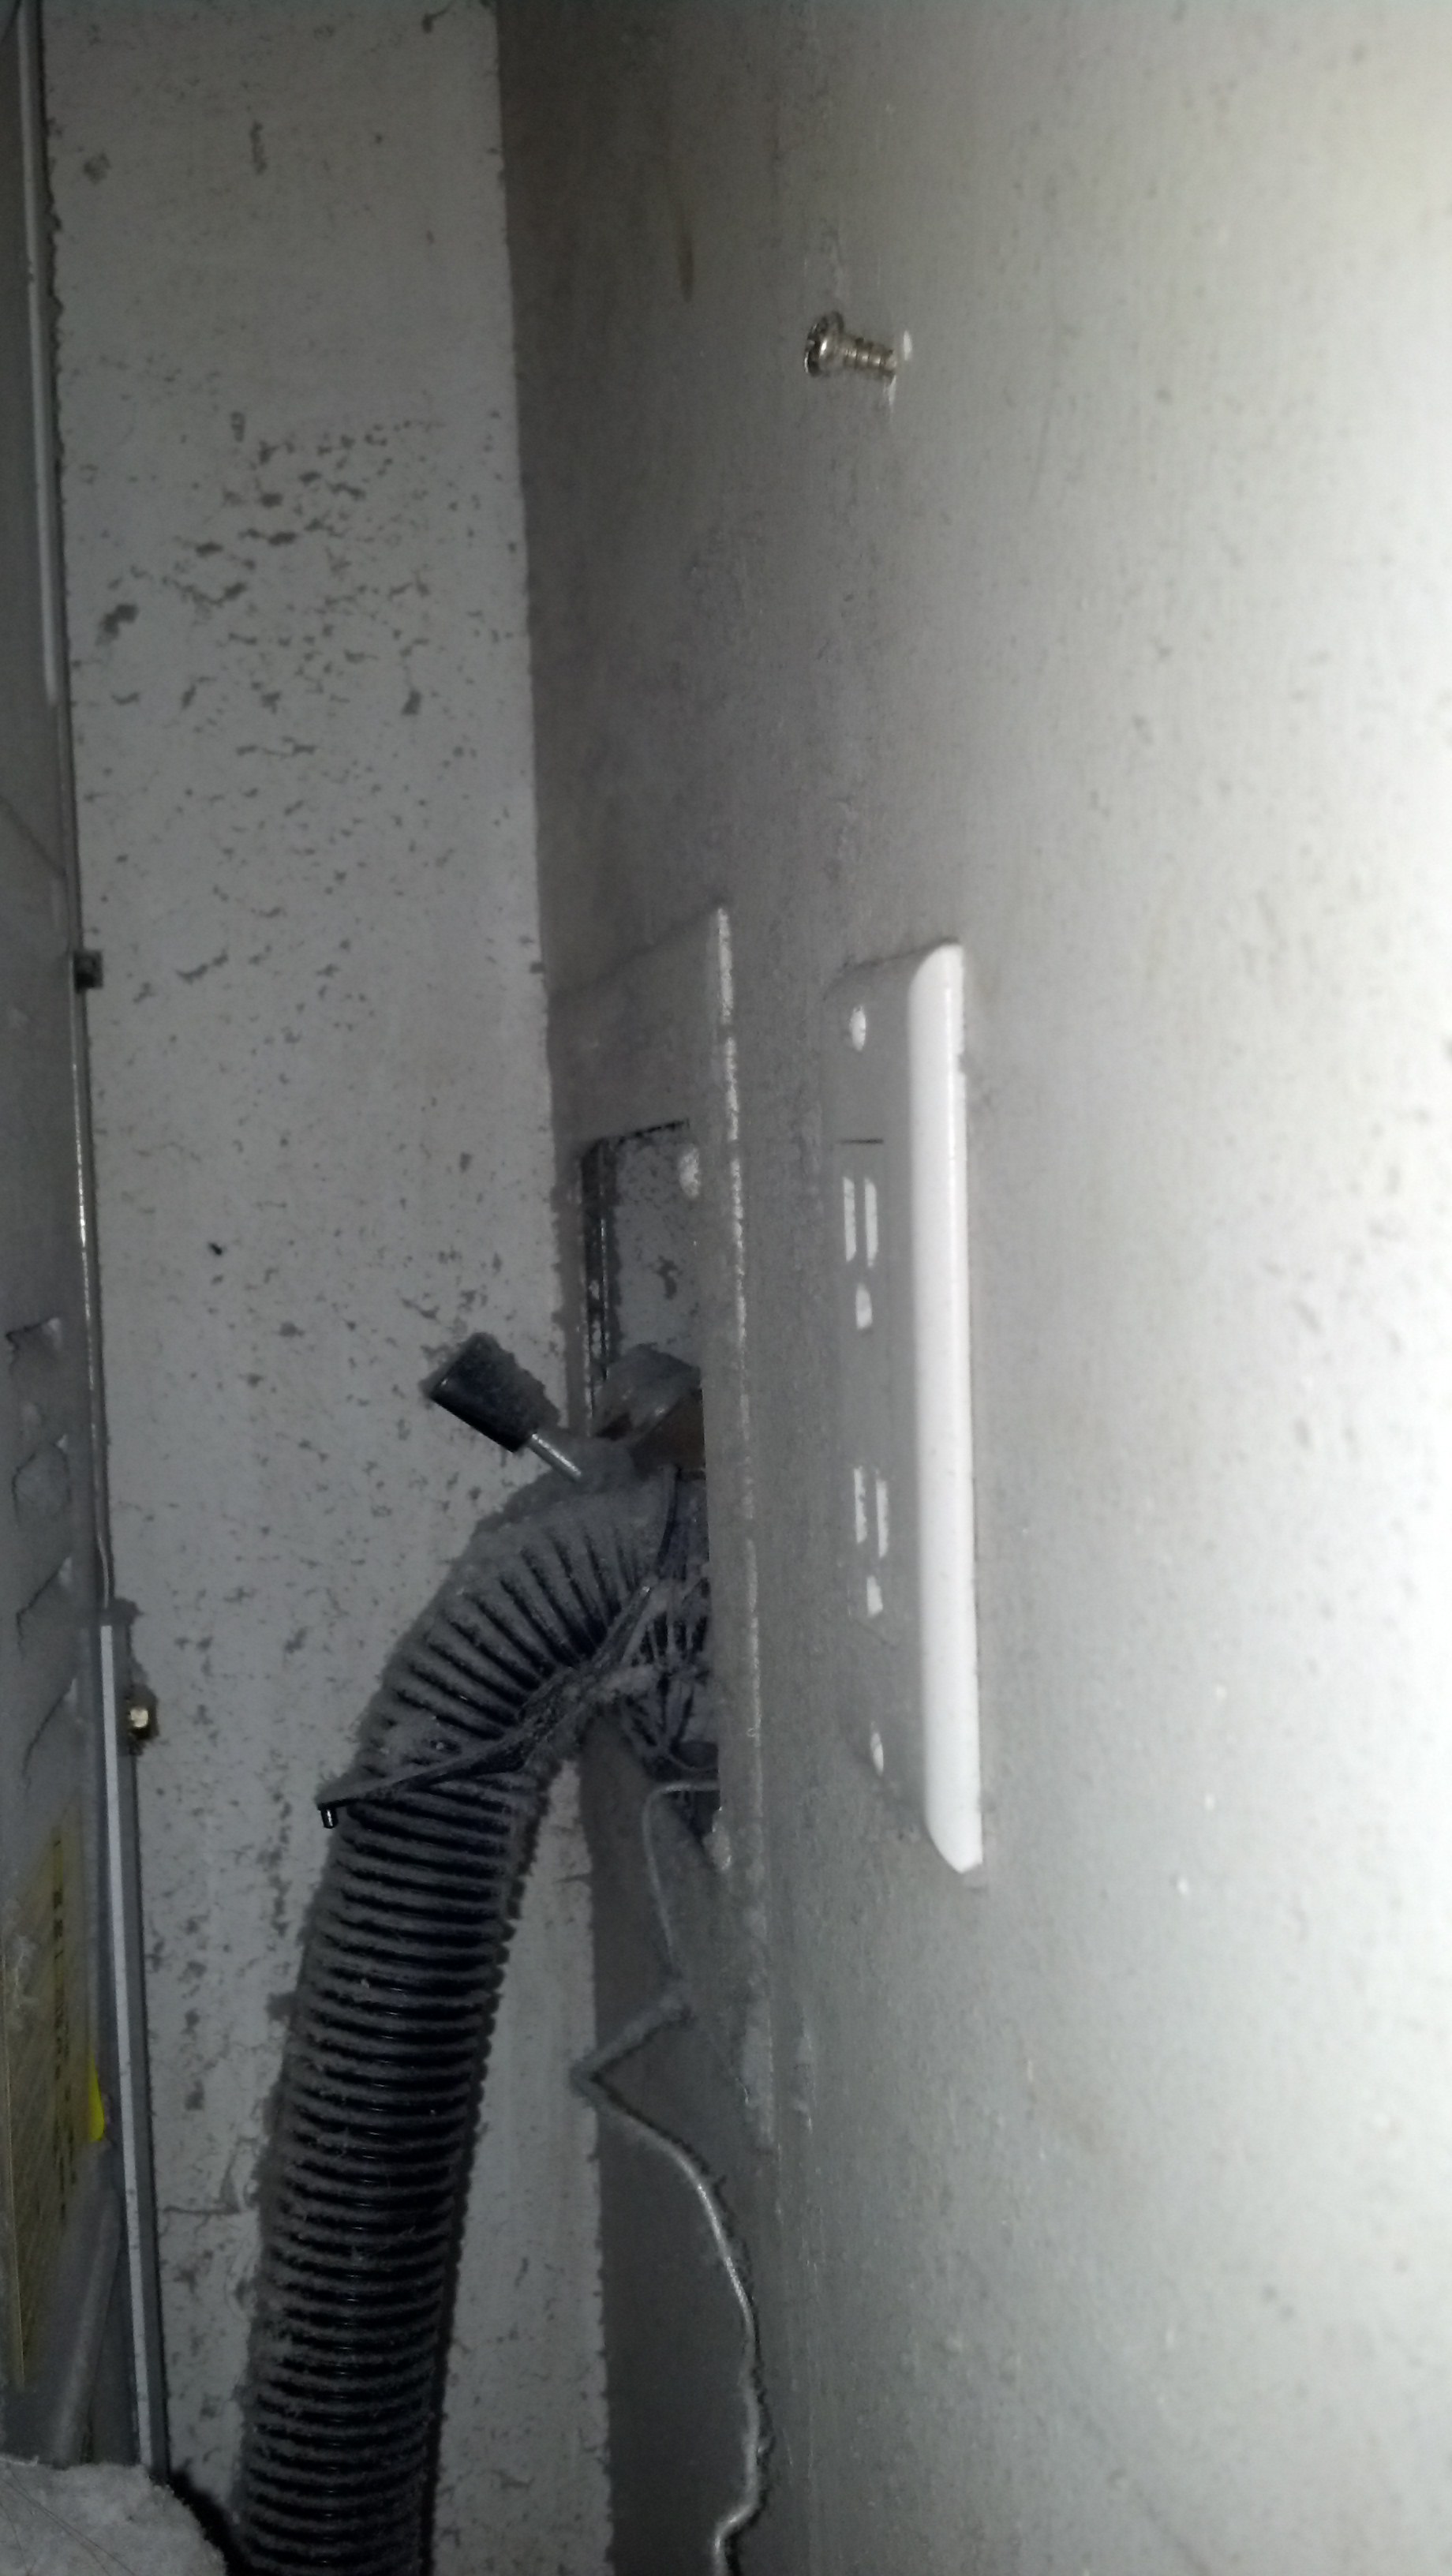
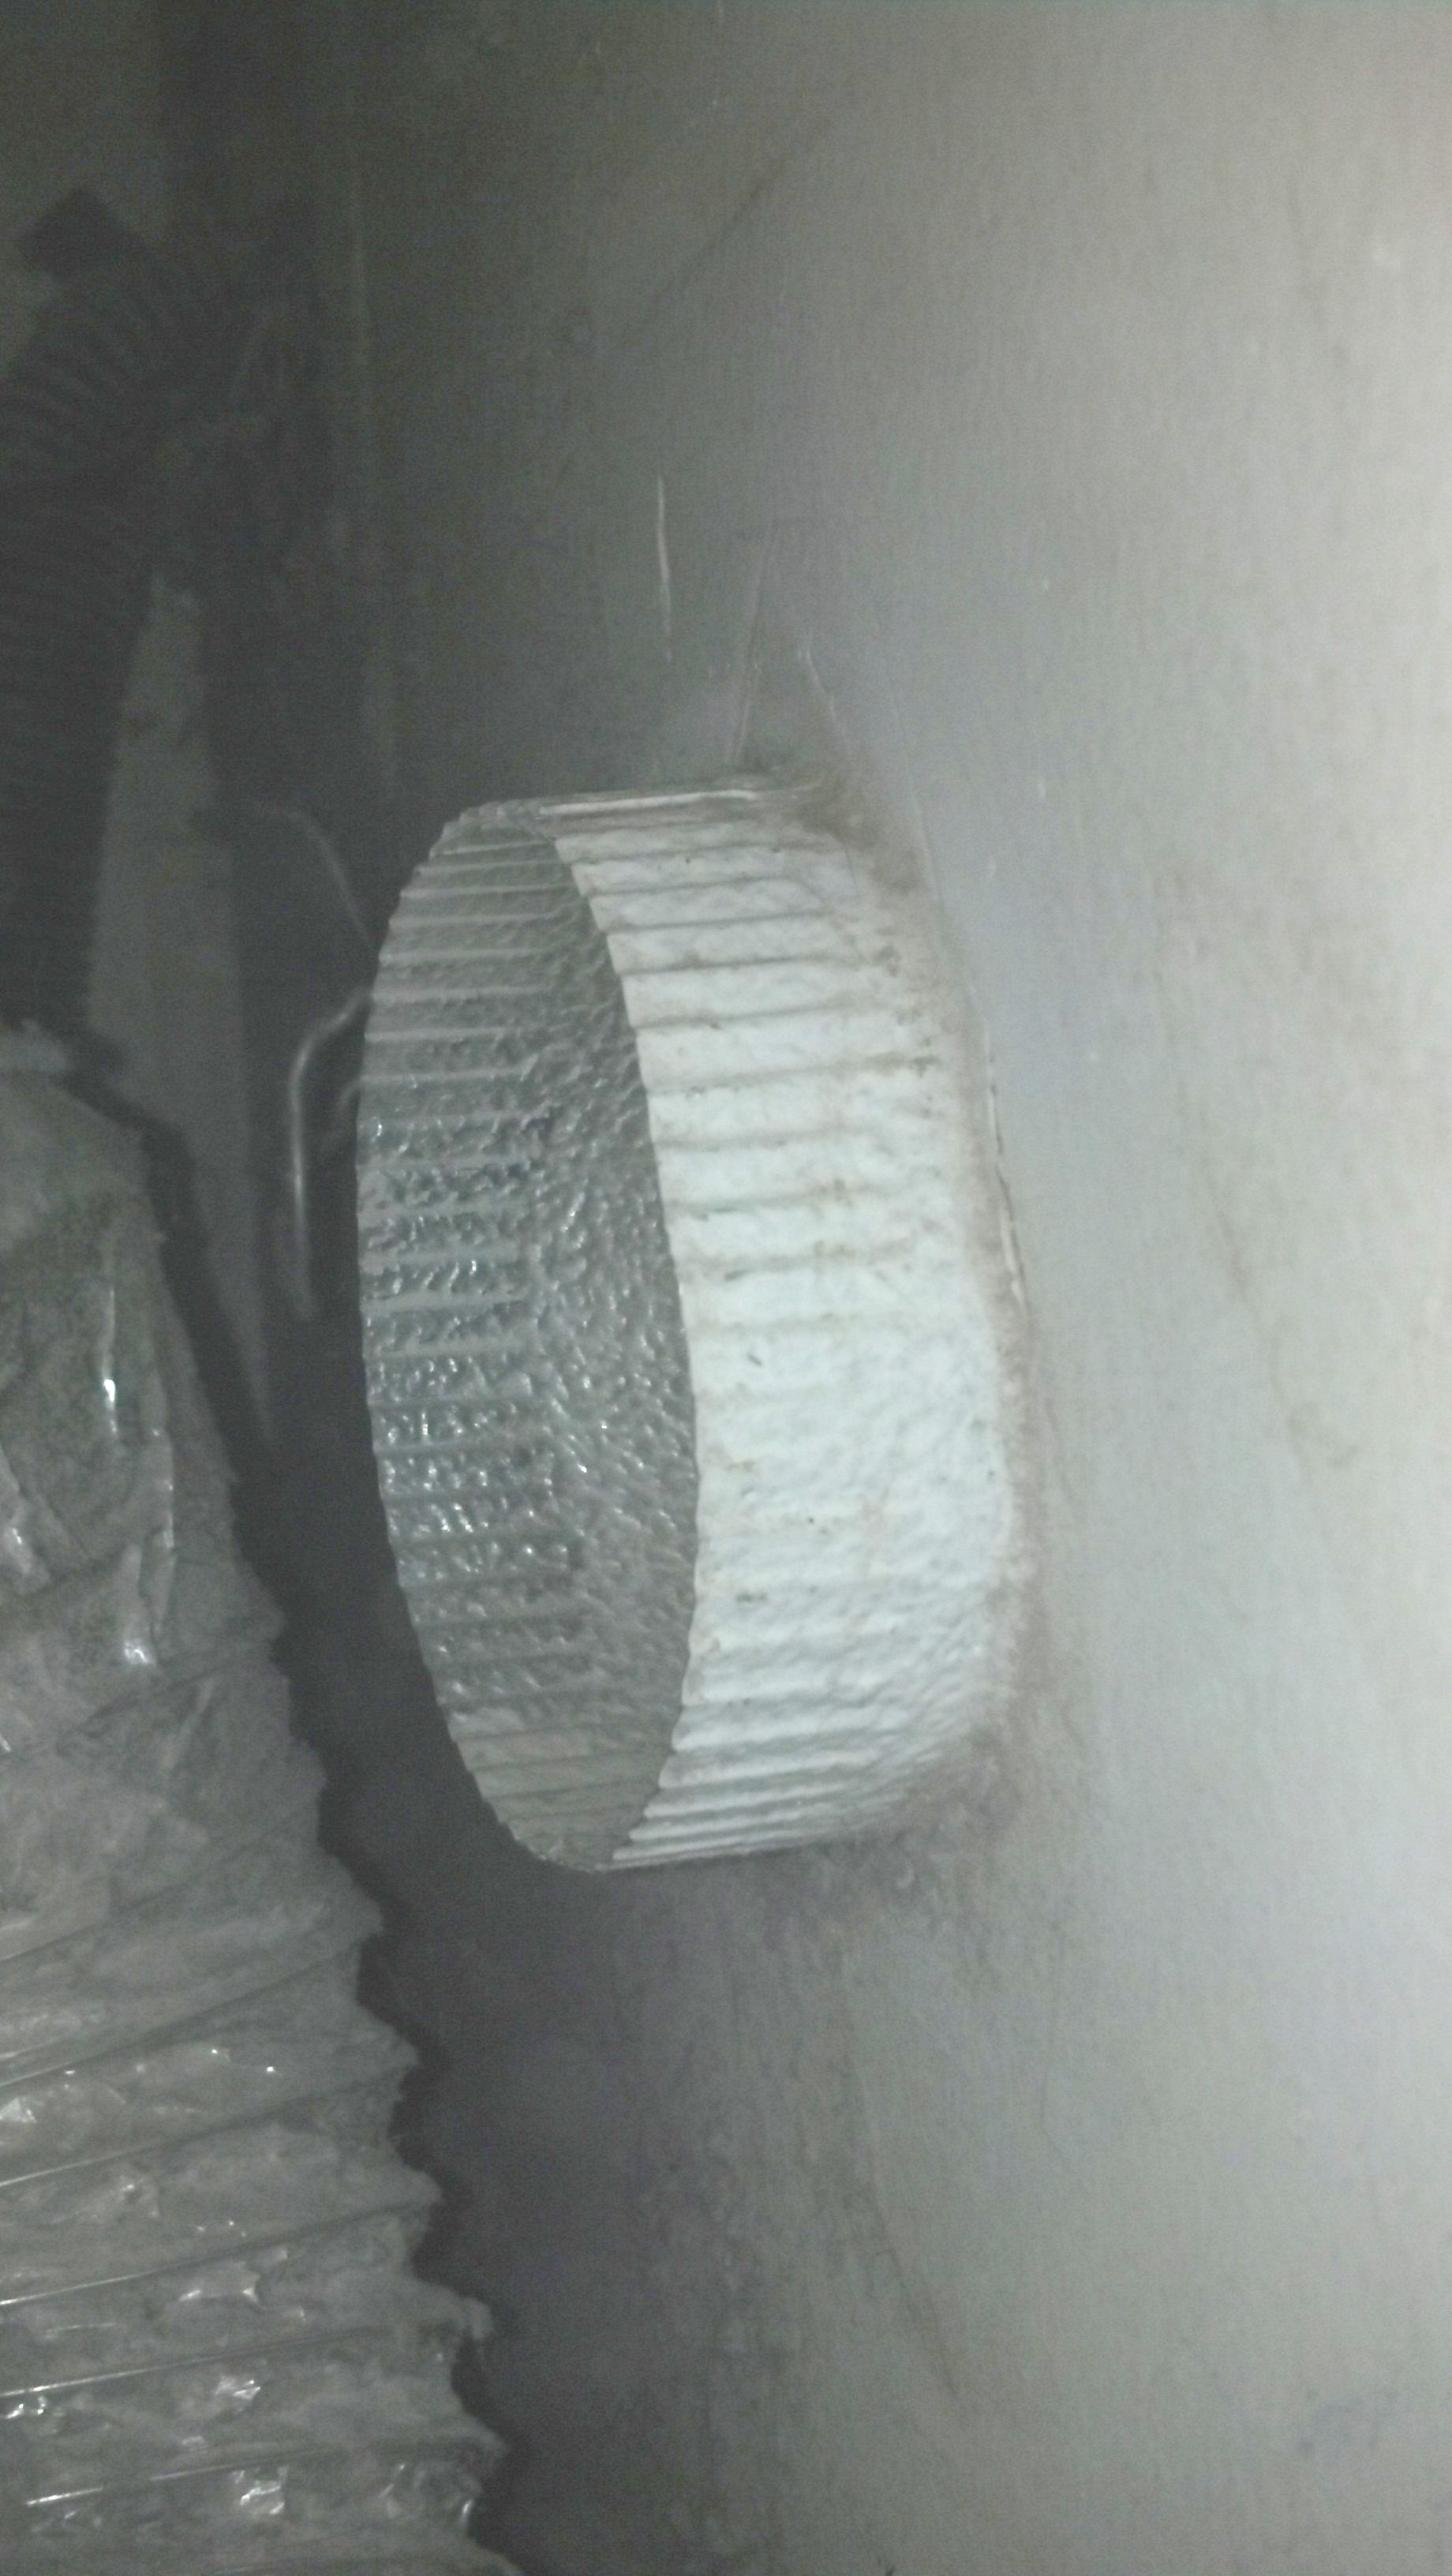
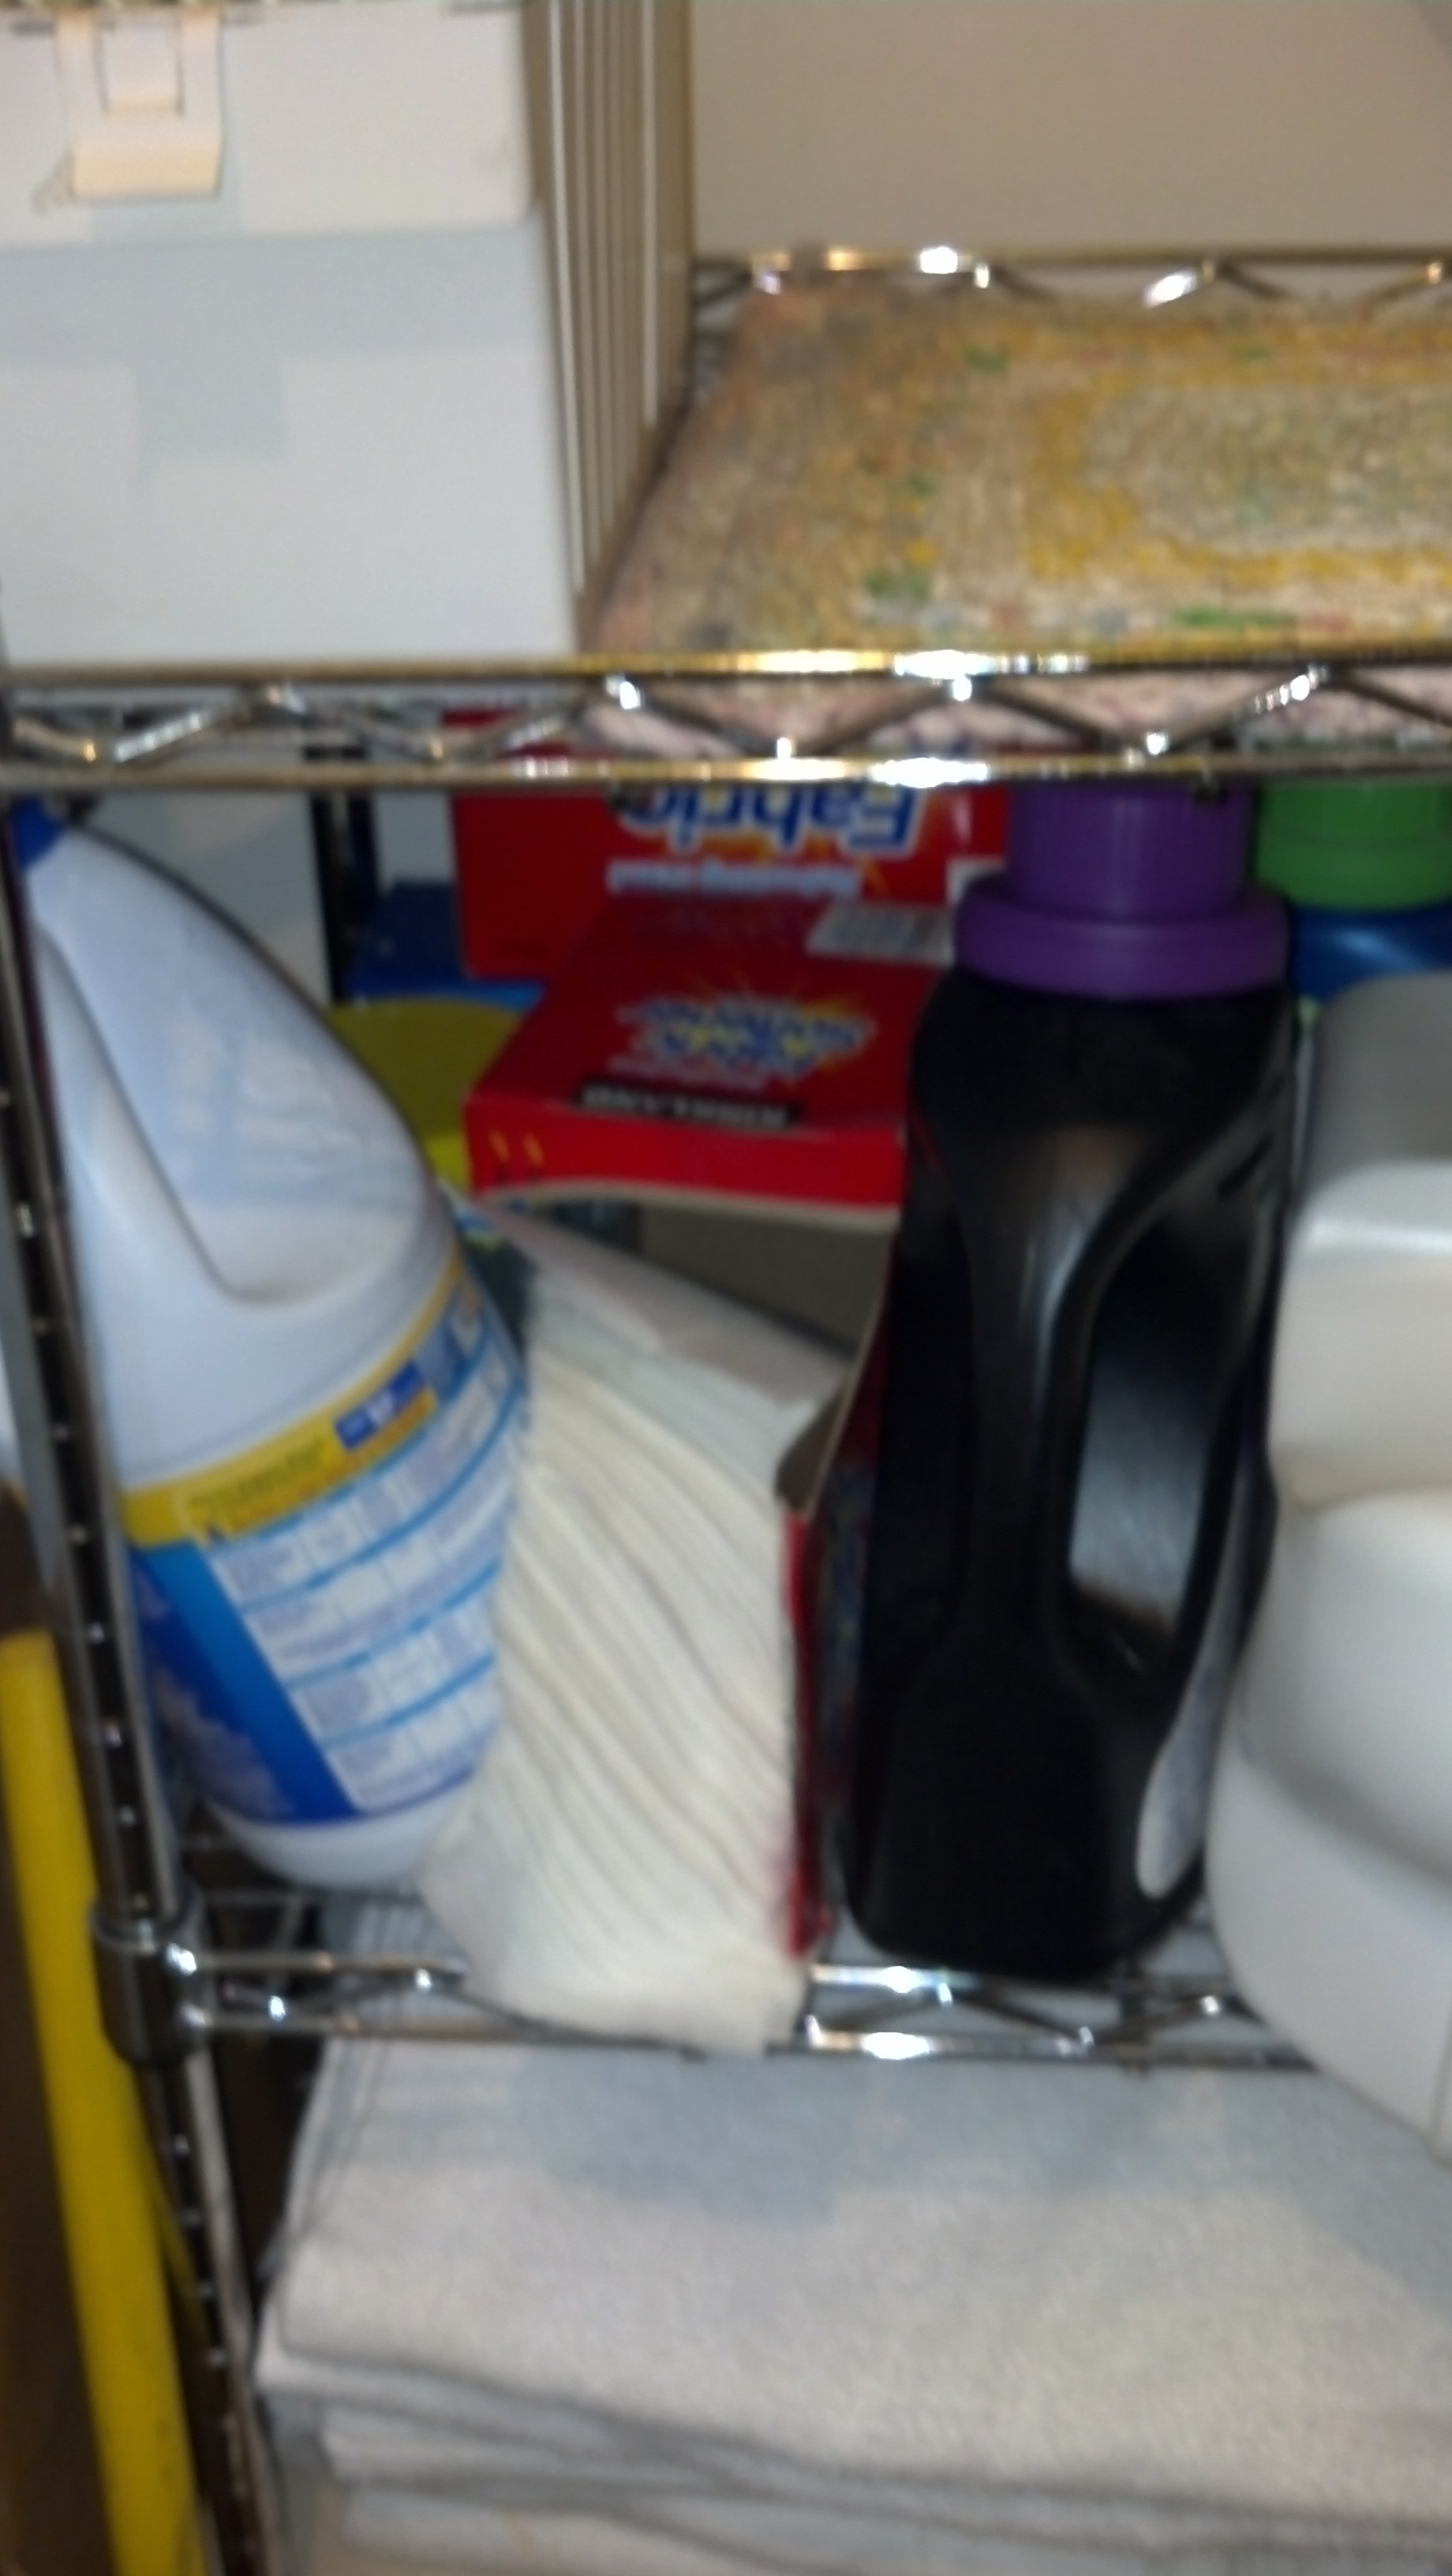
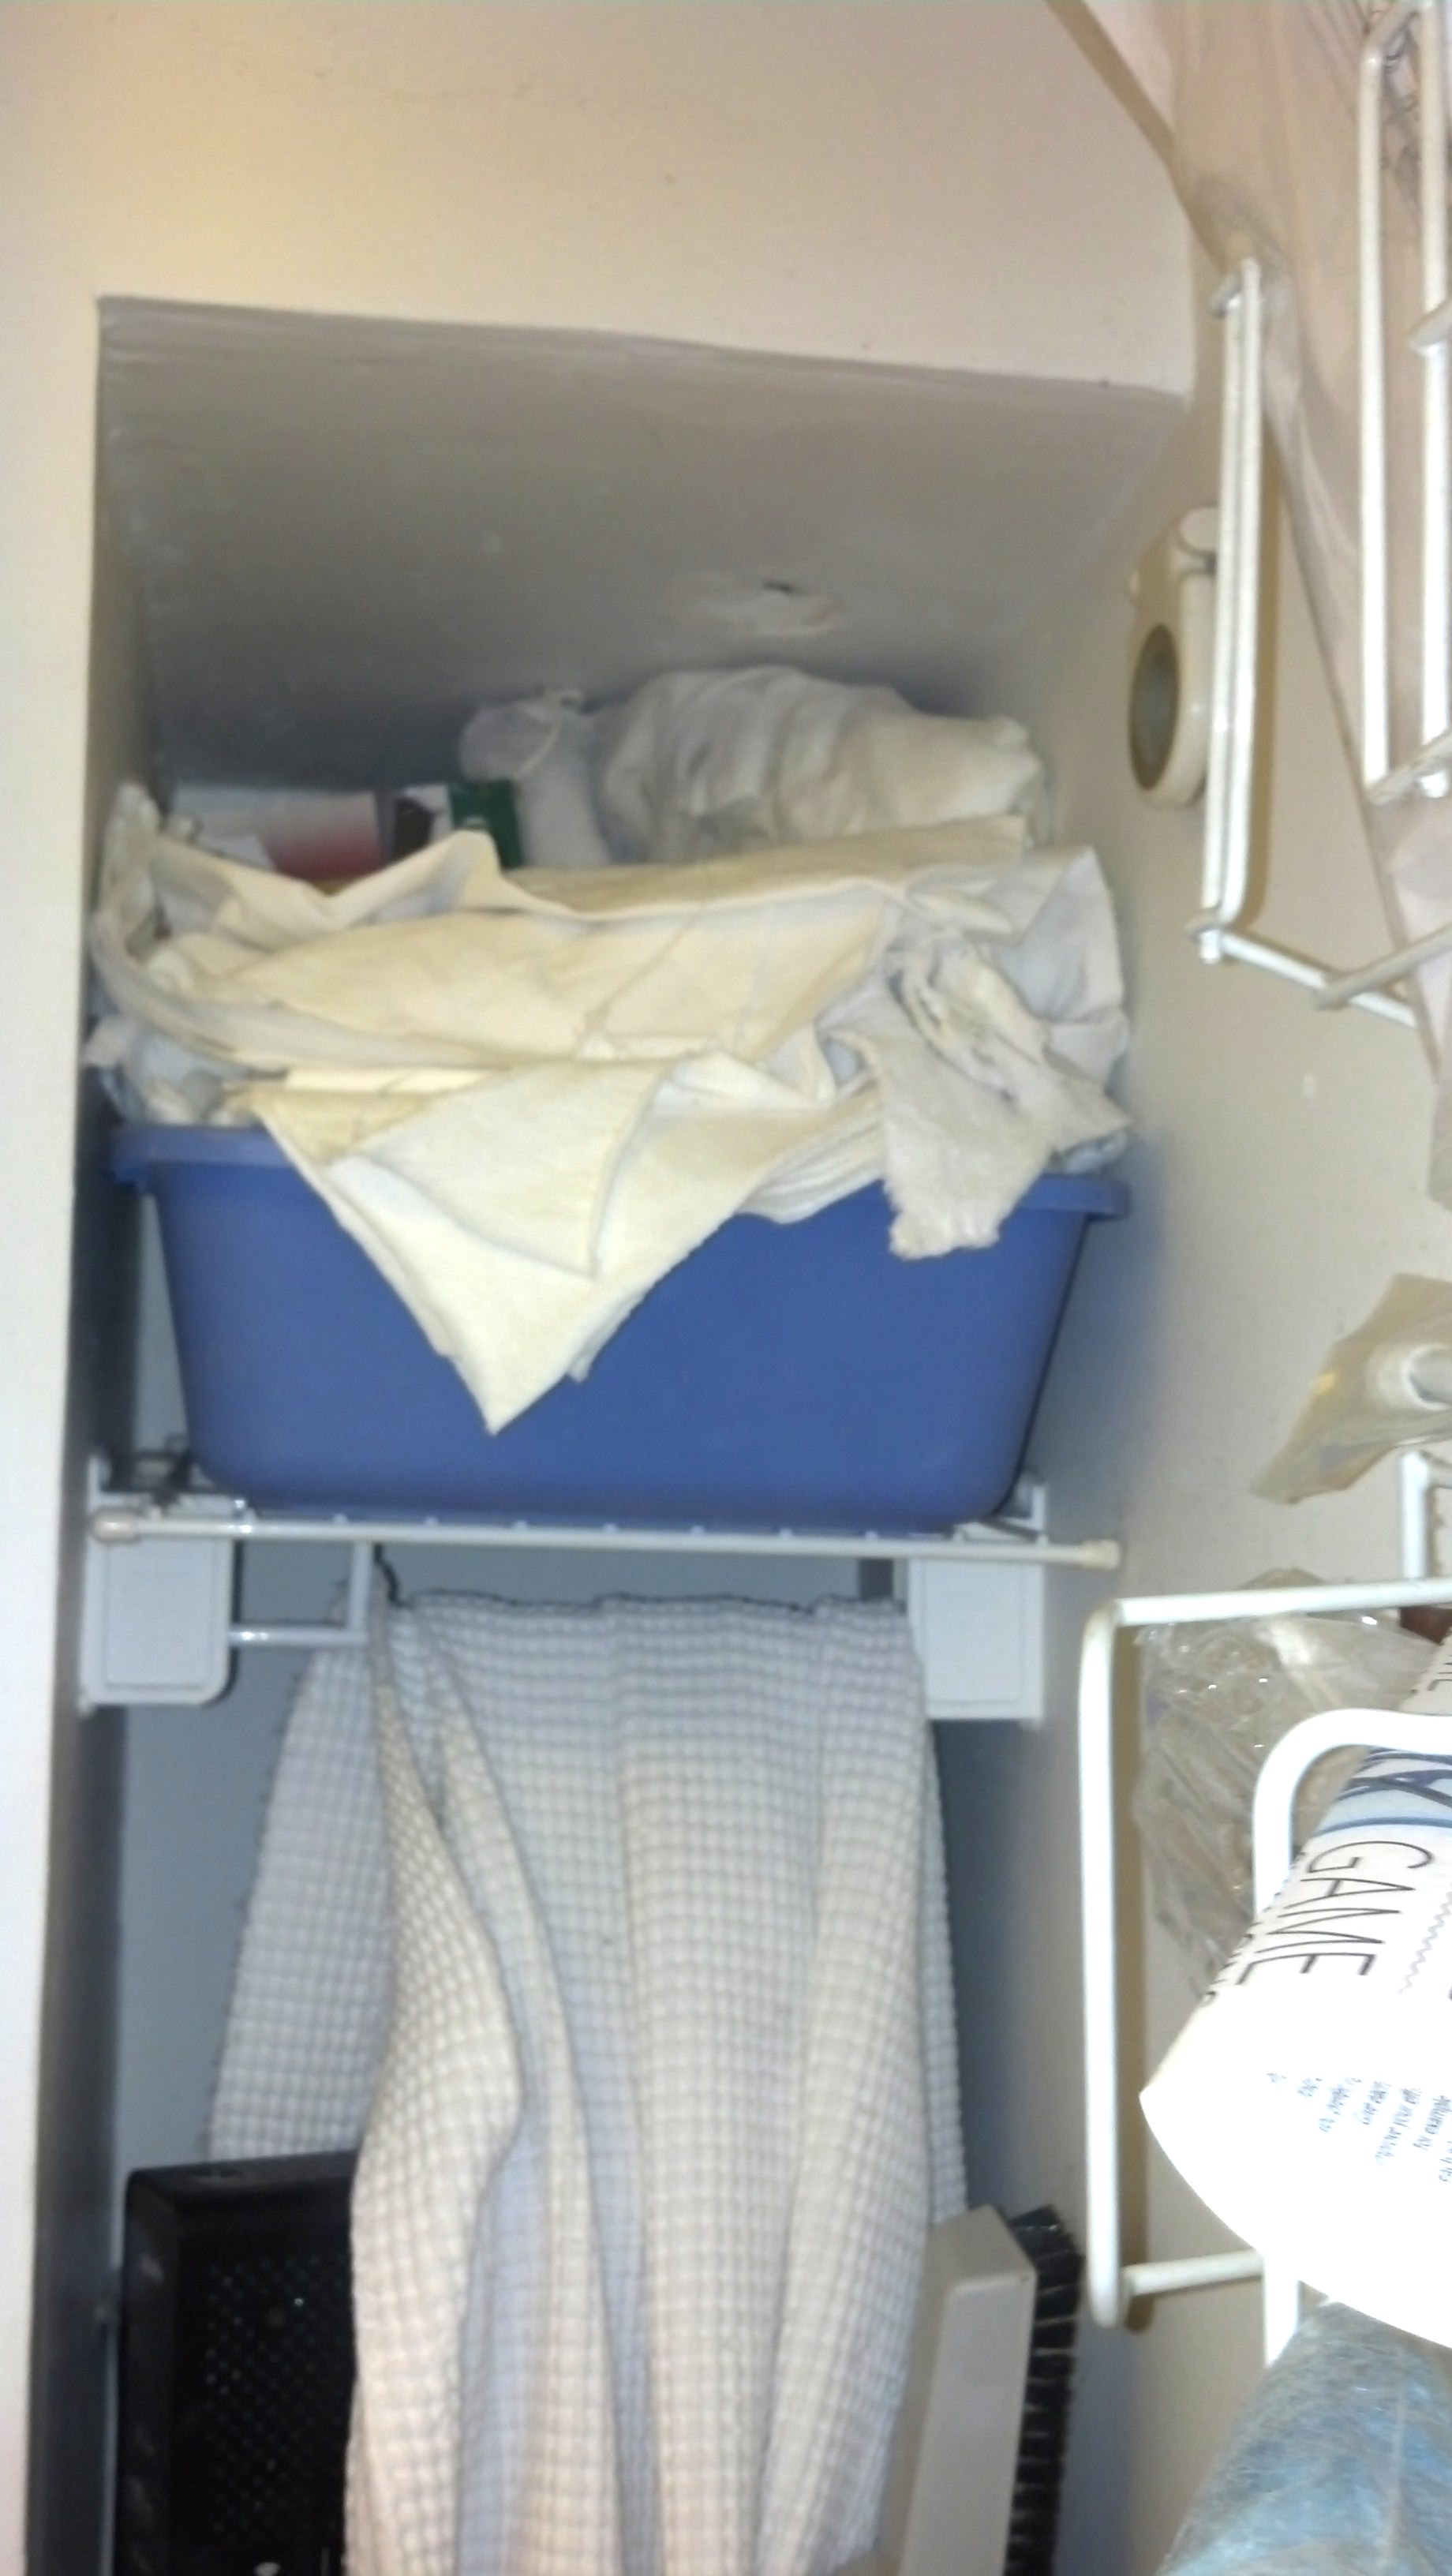
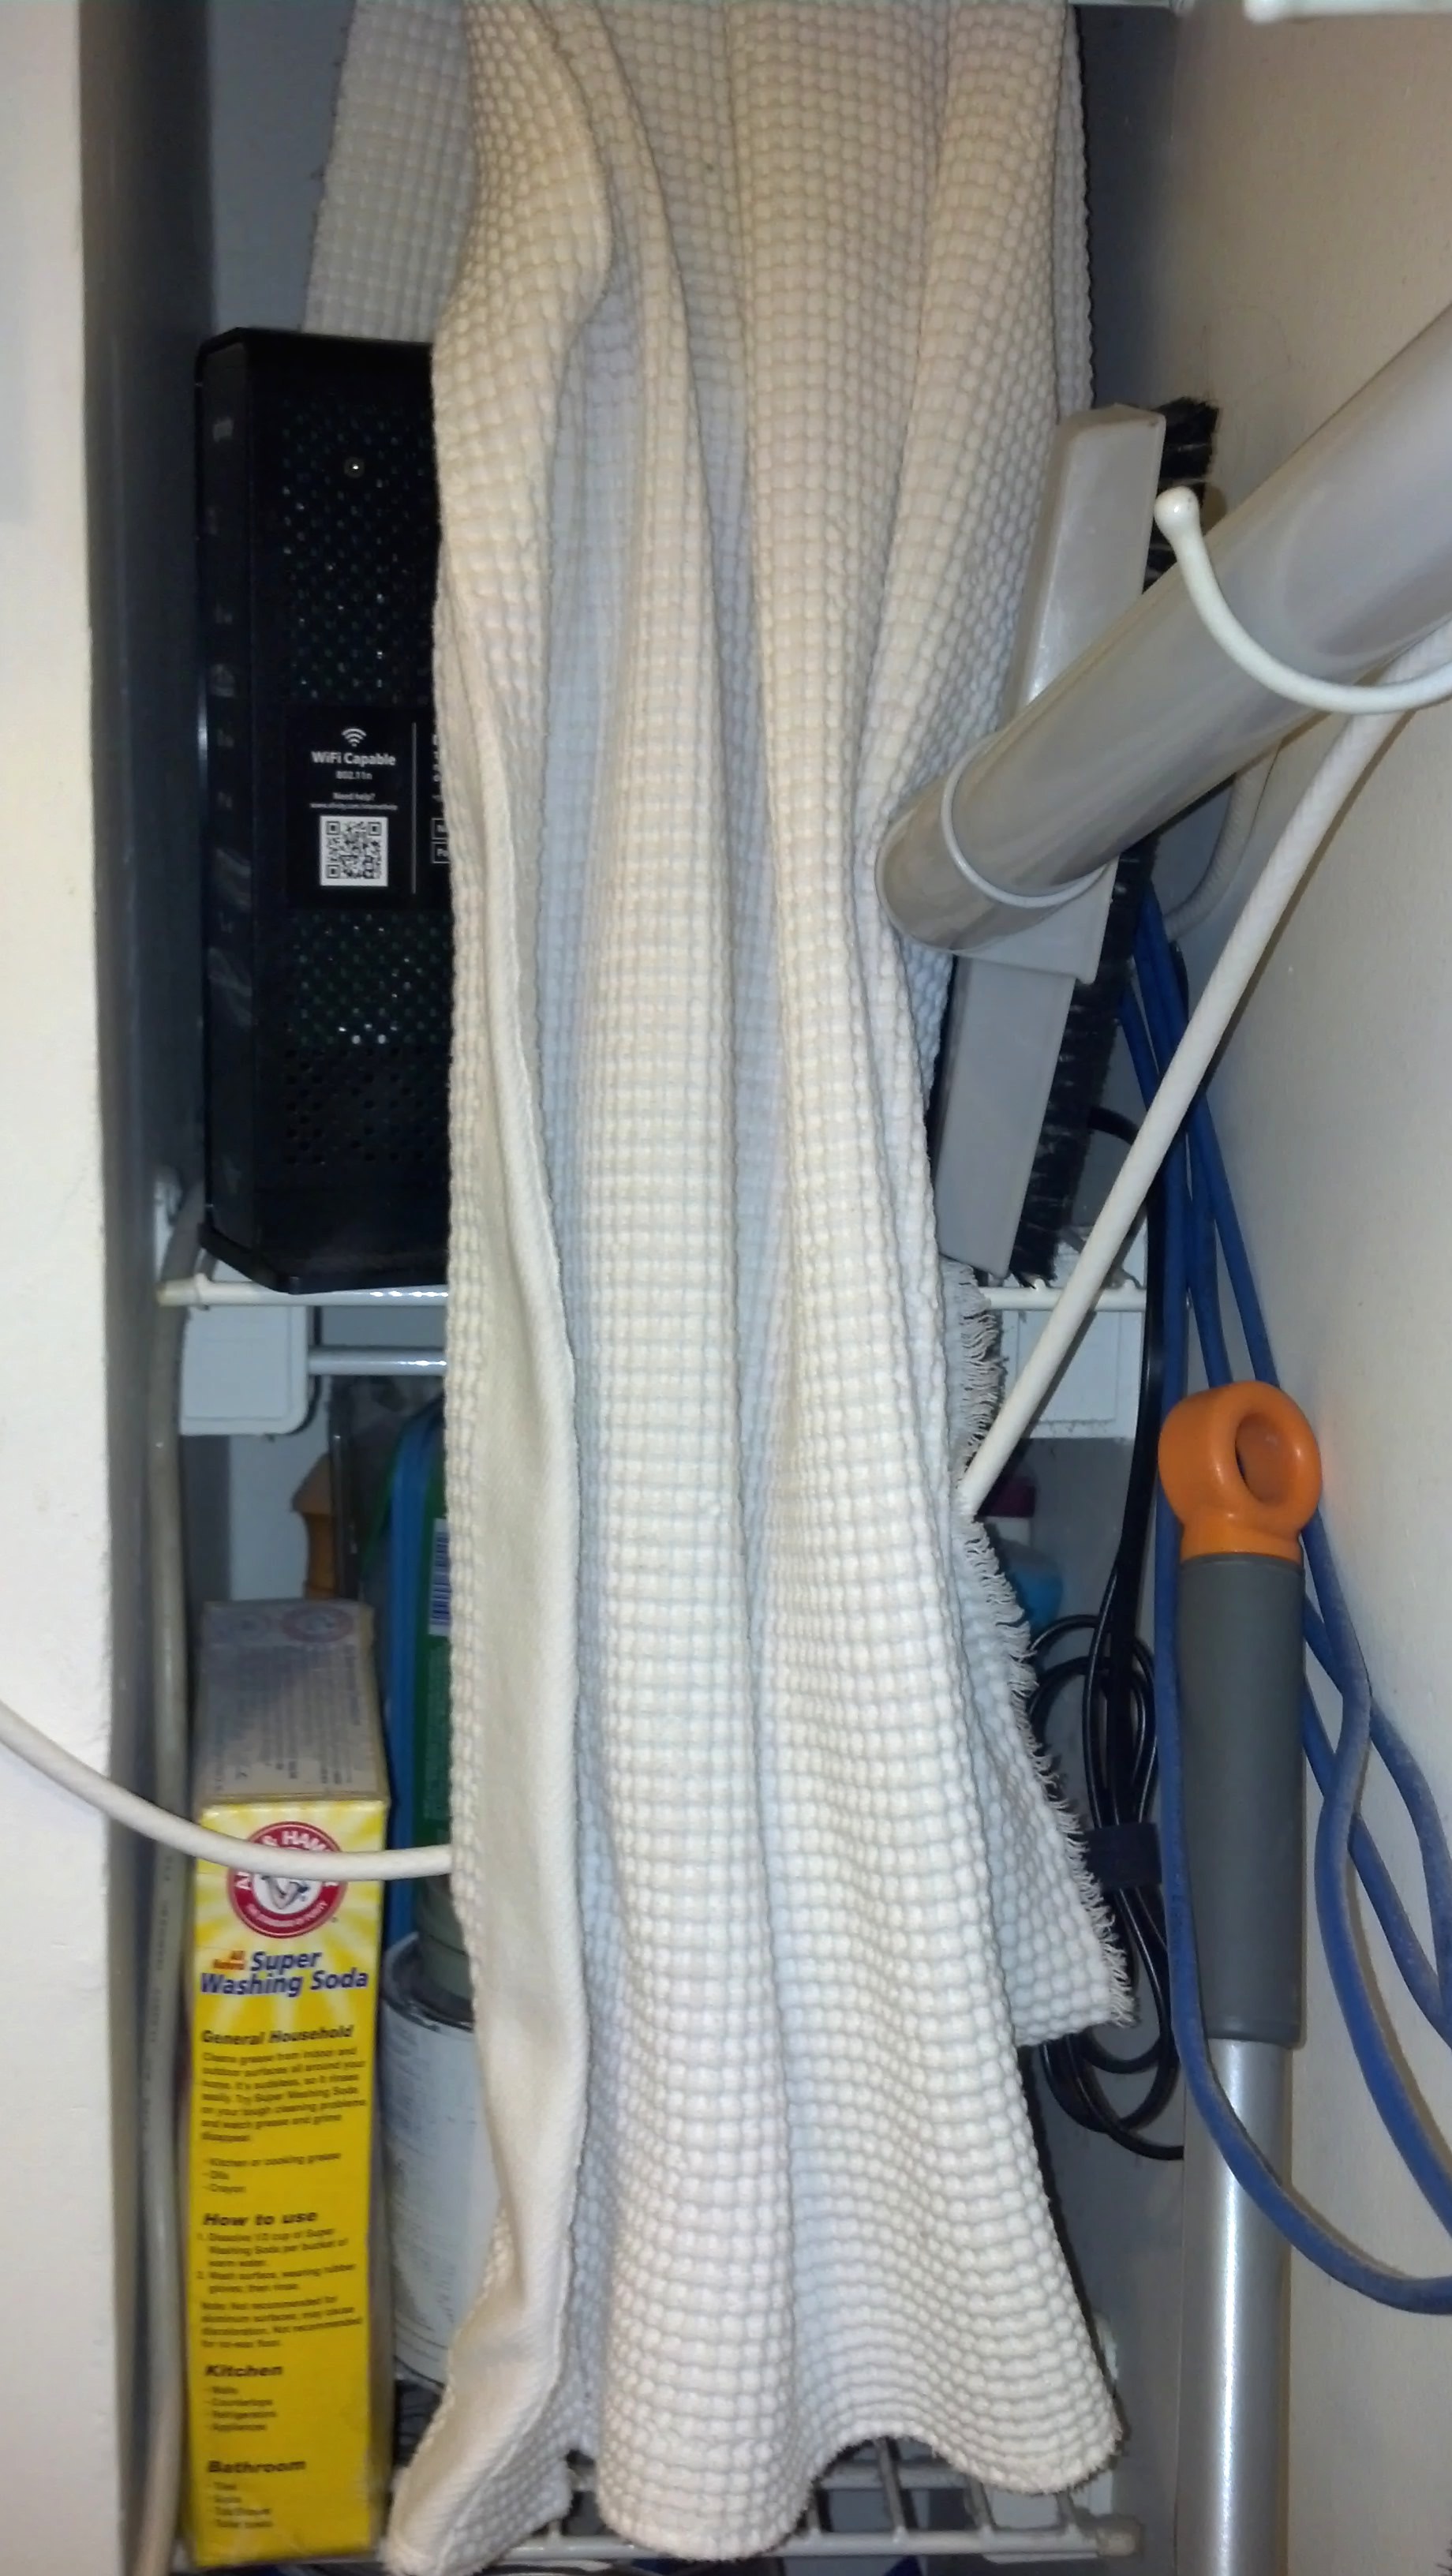
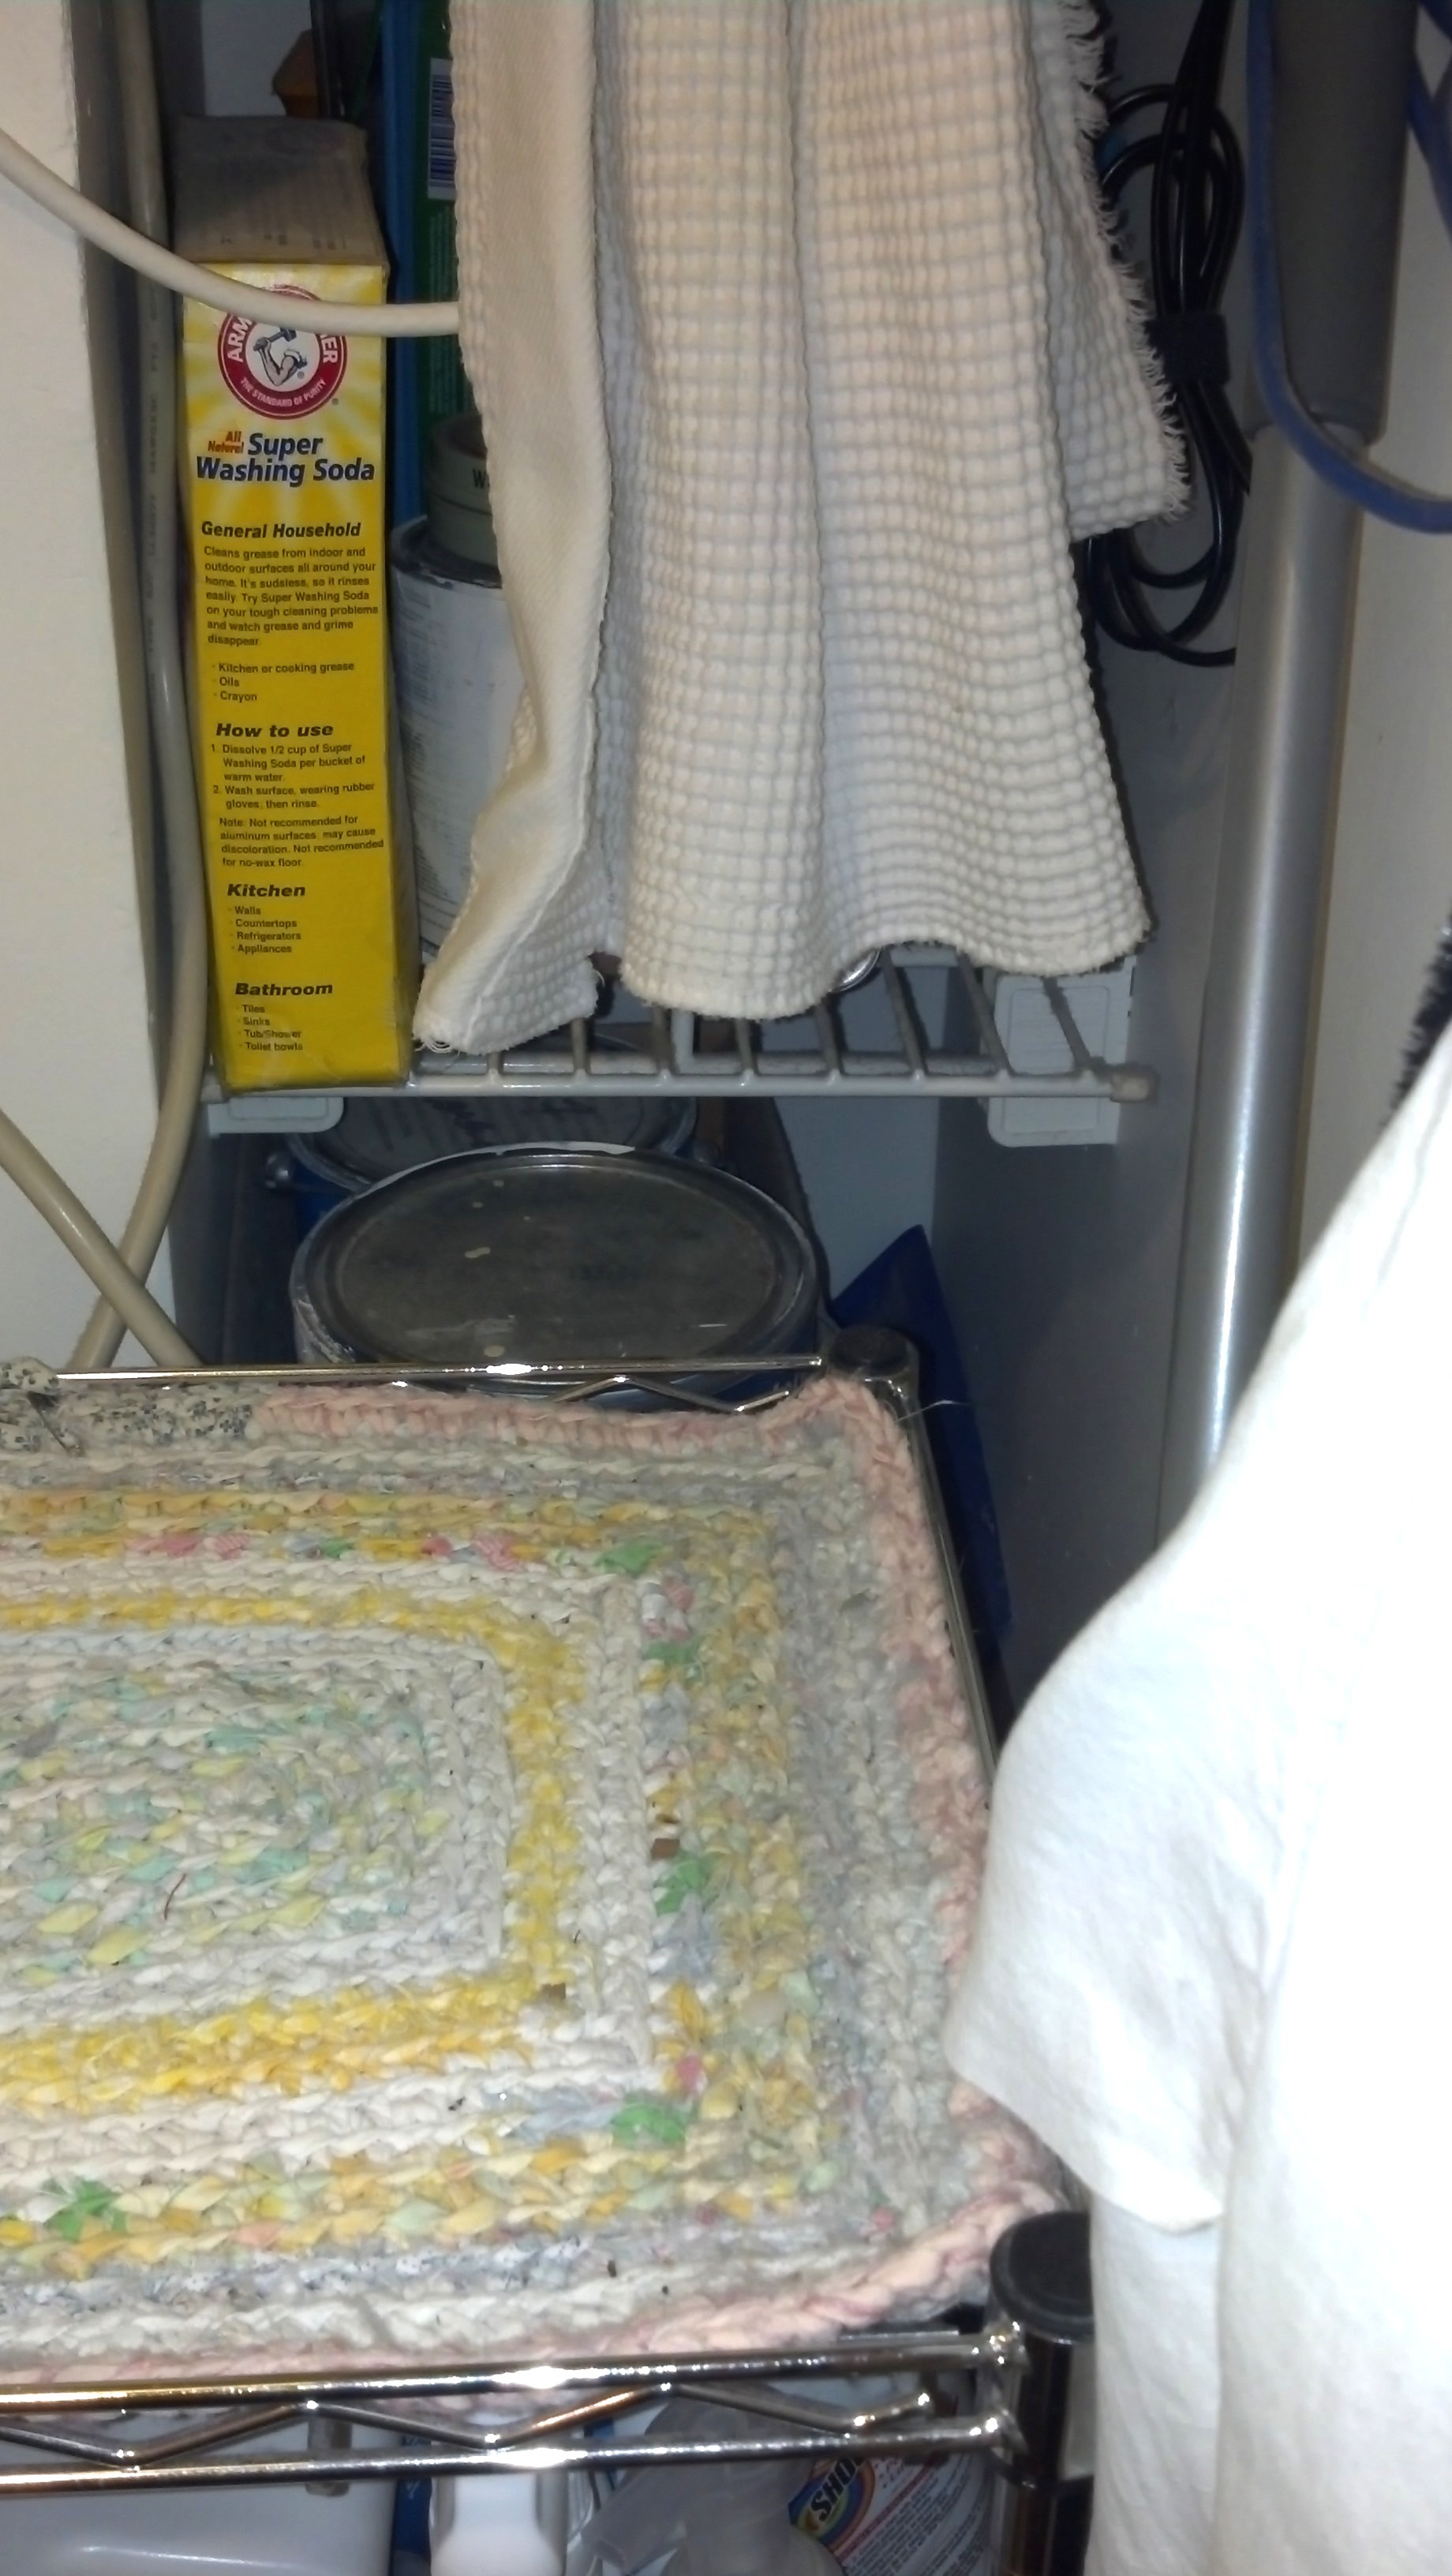
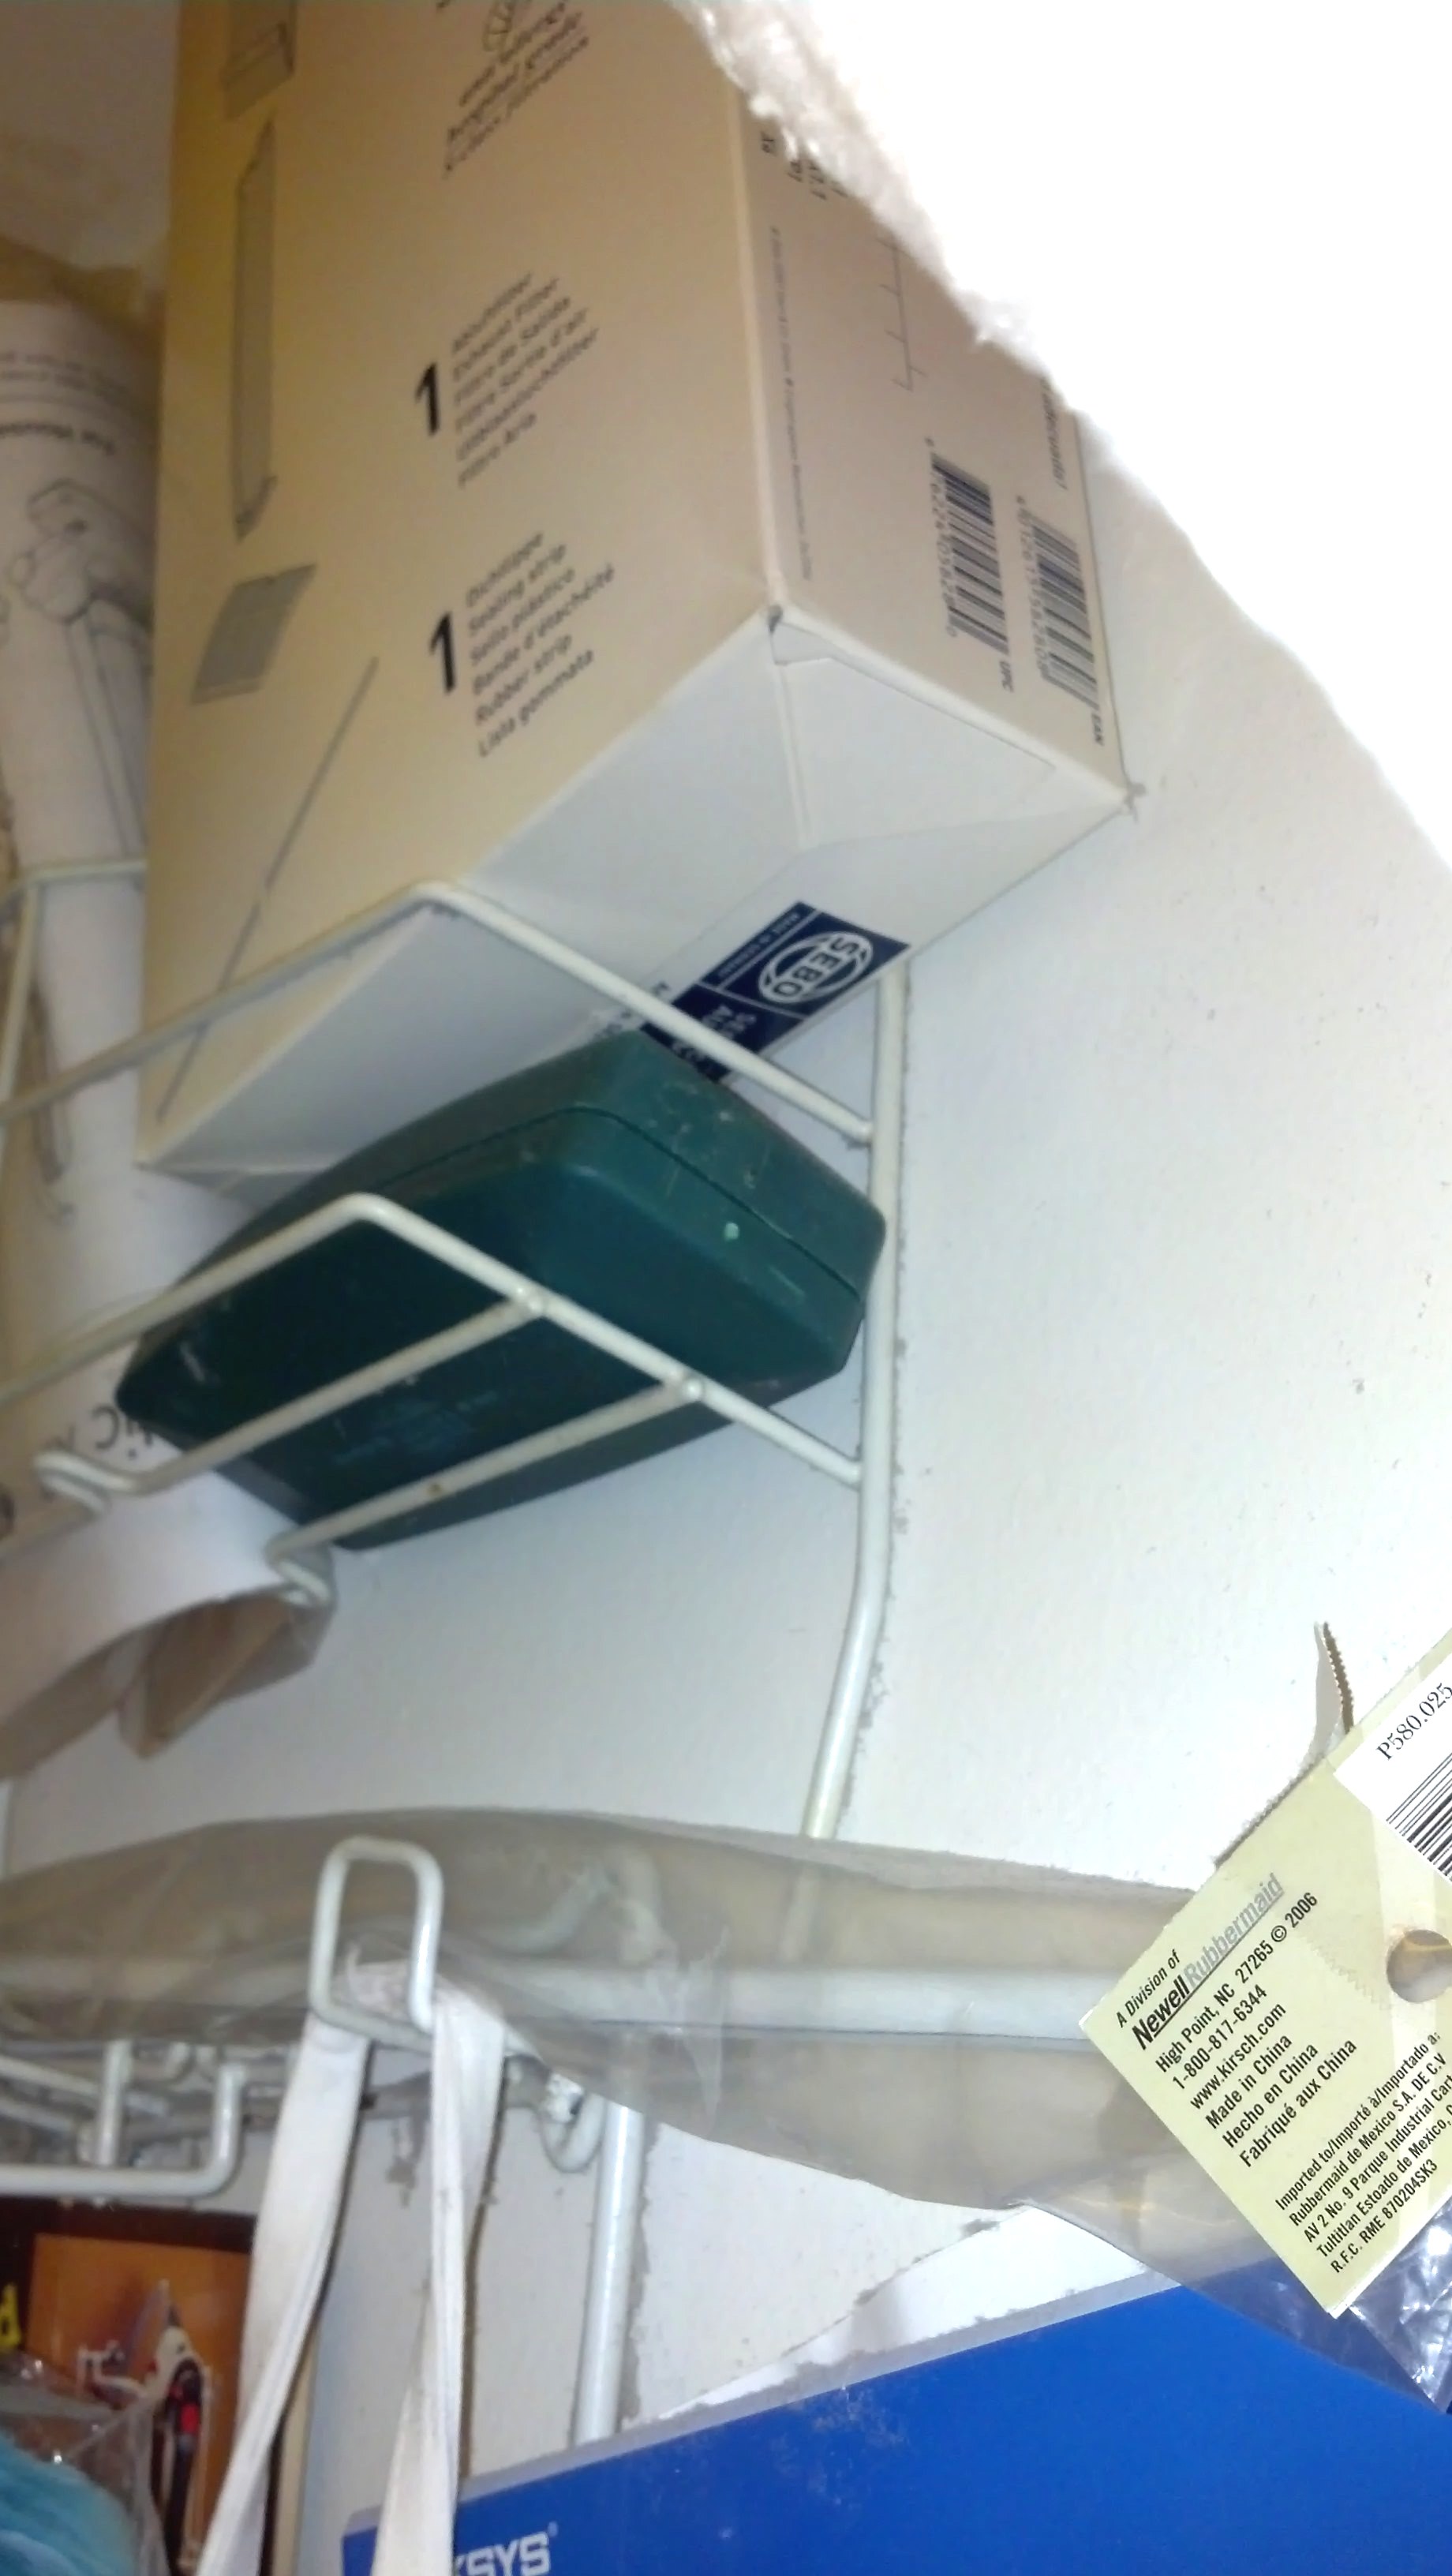
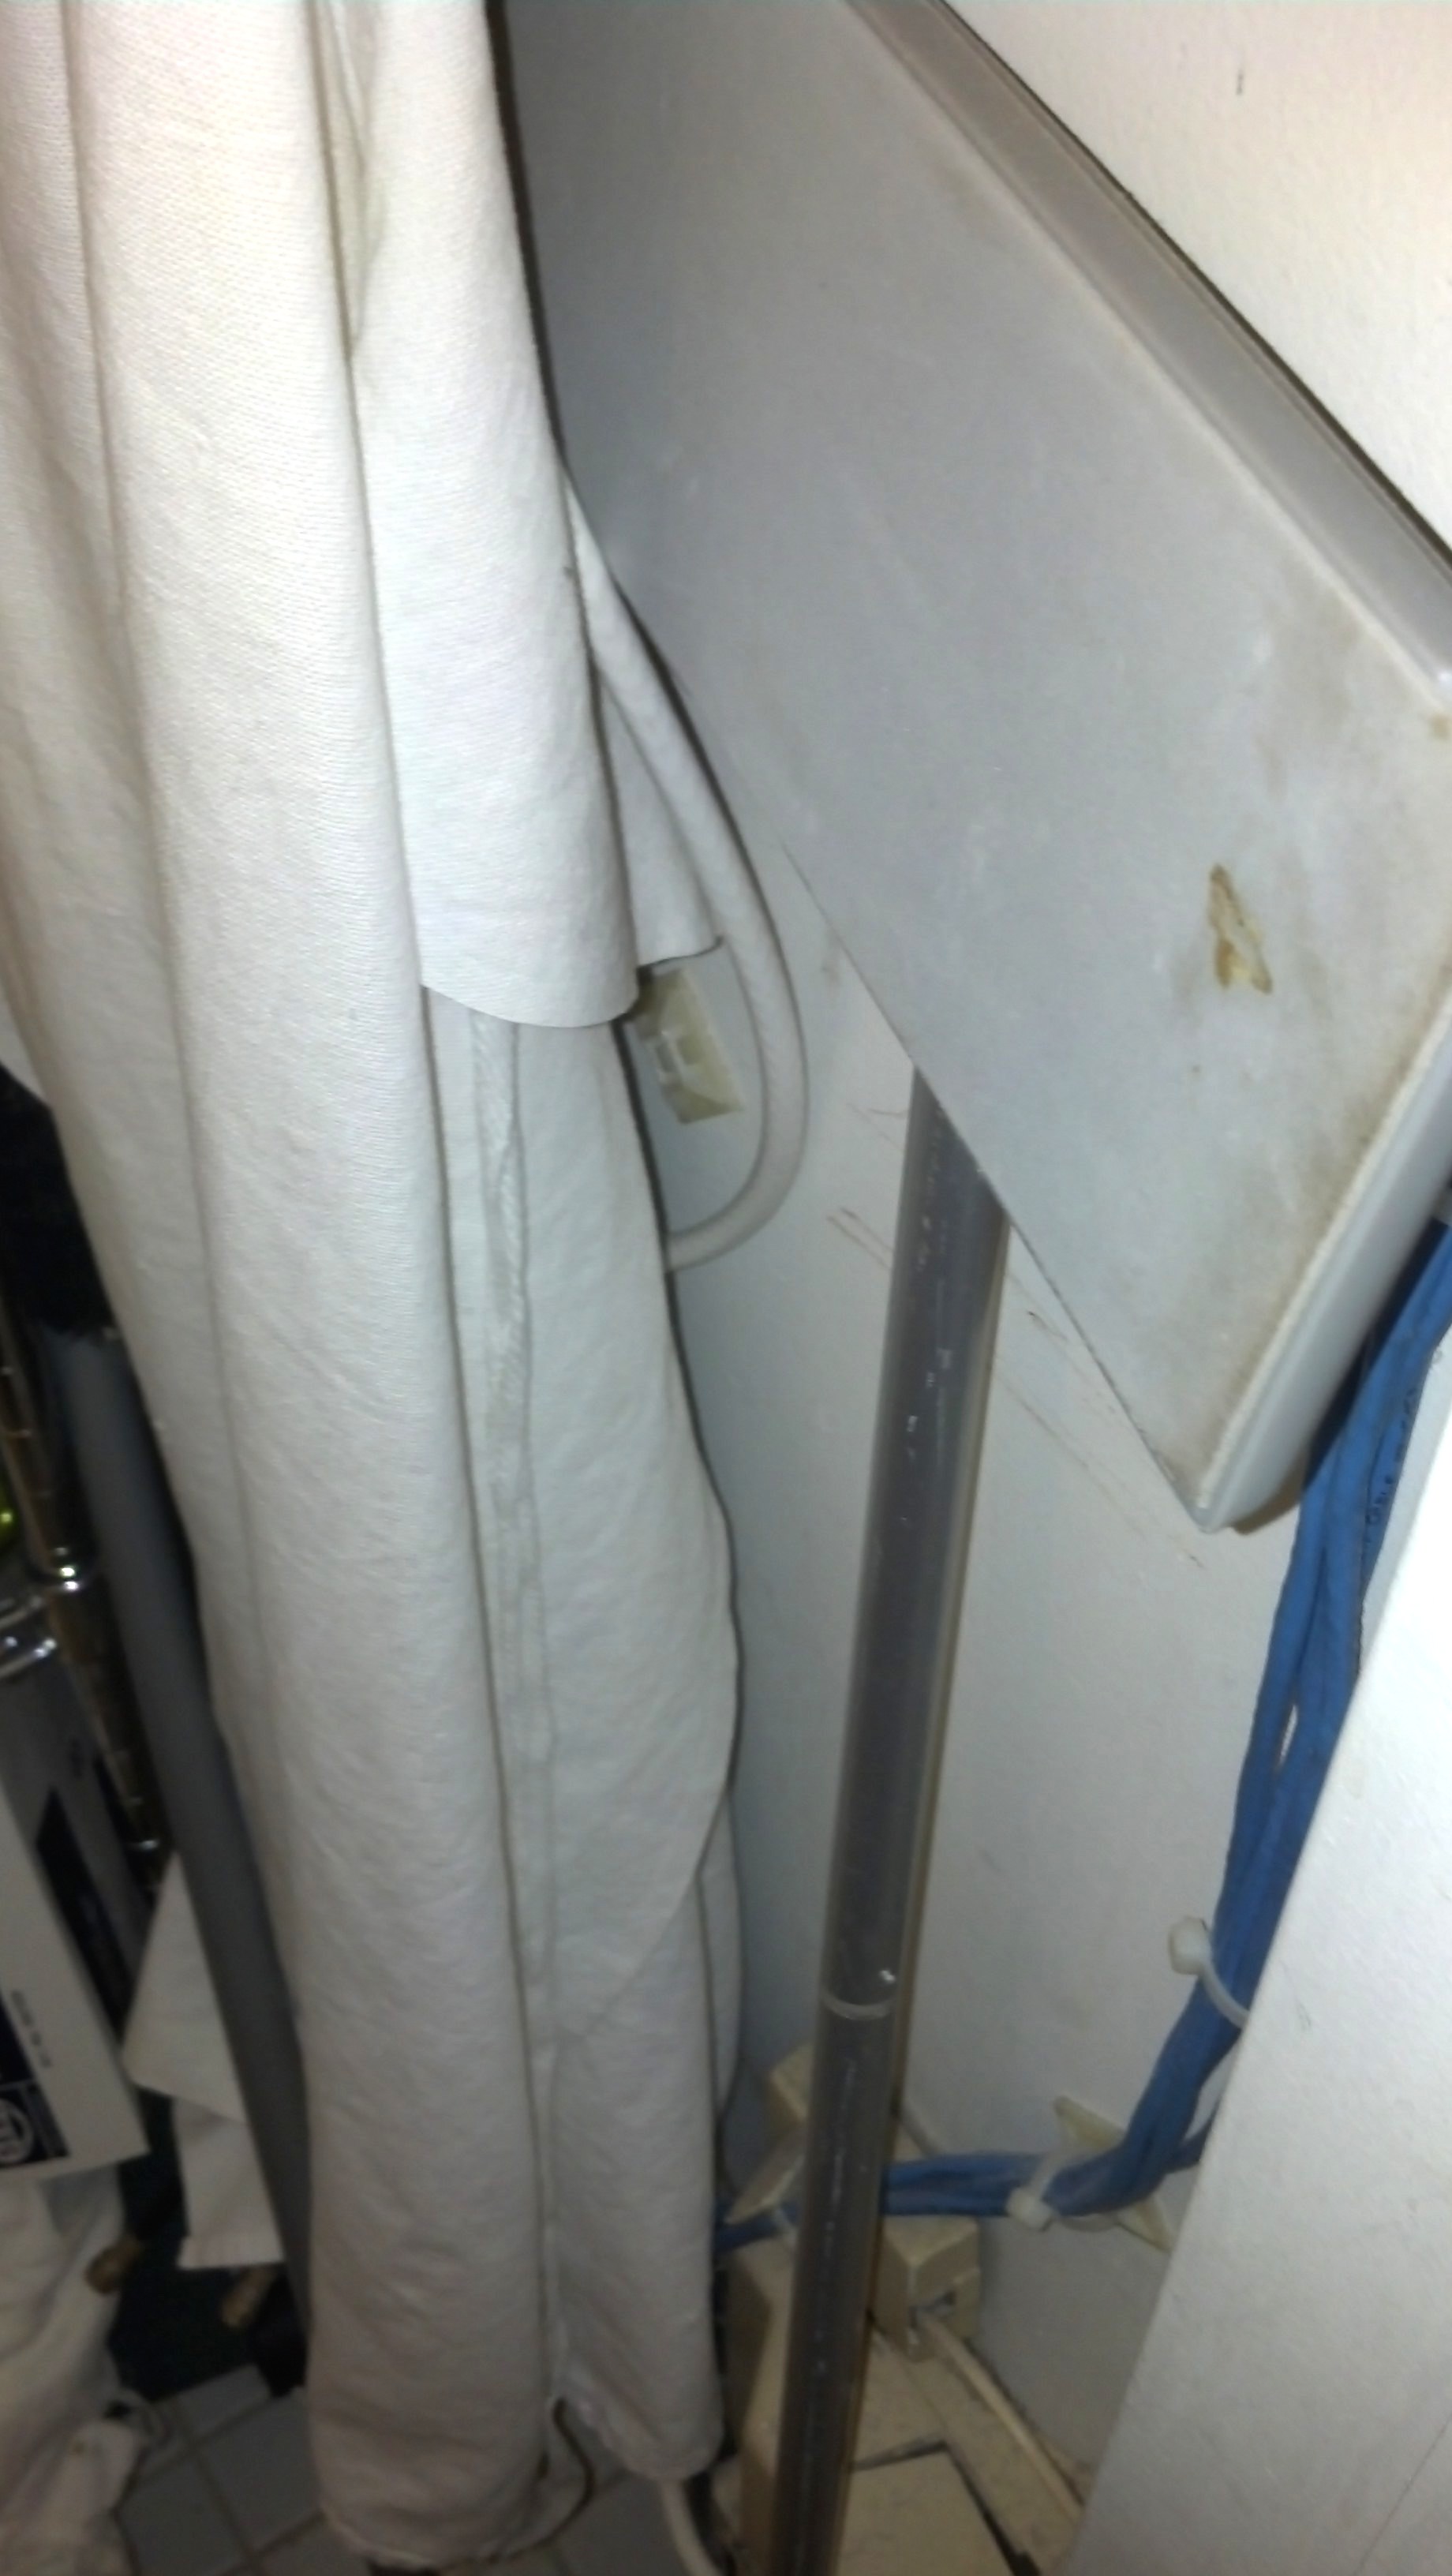
LAUNDRY CLOSET PHOTOS - Left to Right and Top to Bottom
Click on individual photos to enlarge
|
|
|
|
